
This guide will demonstrate how to install DeadBeeF on Manjaro Linux utilizing the command-line terminal and the yay AUR Helper, to secure the latest git build on your desktop for easy, quick upgrades.
DeadBeeF, a lightweight yet powerful music player, stands out in the realm of audio software. With its minimalist design and extensive format support, it’s a top choice for audiophiles and casual listeners alike. Its customization options, including a variety of plugins, make it a versatile tool for personalizing your audio experience. Here’s why DeadBeeF is a must-try on Manjaro Linux:
- Extensive Format Support: DeadBeeF plays a wide array of audio formats, ensuring compatibility with your music collection.
- High Customizability: Tailor the player with plugins and skins to fit your aesthetic and functional preferences.
- Resource Efficiency: It’s known for its low CPU usage, making it ideal for systems with limited resources.
- Advanced Features: Offers functionalities like gapless playback, customizable shortcuts, and a modular design.
In the following sections, you’ll be guided through a straightforward installation process. Prepare to enhance your music listening on Manjaro Linux with DeadBeeF.
Install DeadBeeF on Manjaro Linux Using Yay AUR Helper
Update Manjaro Before Installing DeadBeeF
Before installing DeadBeeF, it’s important to update your Manjaro Linux system. This ensures system stability and security. Execute the update using the terminal command:
sudo pacman -SyuAn updated system guarantees a more efficient installation process for DeadBeeF.
Install Yay AUR Helper (Skip if Already Installed)
The Yay AUR Helper is essential for installing DeadBeeF. Begin by confirming the installation of GIT, as it’s necessary for cloning the Yay repository. Use this command to install GIT and the essential development tools:
sudo pacman -S --needed --noconfirm base-devel gitThis command simplifies the process by including all necessary packages without additional confirmations.
Clone the Yay Repository
Initiate the installation by cloning the Yay repository. This creates a local copy on your system. Use the following command:
git clone https://aur.archlinux.org/yay-git.gitCloning the Yay repository is essential for building and installing Yay from source.
Relocate the Yay Repository
Post-cloning, relocate the Yay repository to the /opt/ directory, a common location for non-standard software. Execute this command for relocation:
sudo mv yay-git /opt/This organization aligns with the Linux filesystem hierarchy, ensuring a well-structured system.
Set Proper User Permissions for Yay-Git
Next, adjust the permissions of the Yay-git directory. Change the ownership to your user to avoid permission issues:
sudo chown -R $USER:$USER /opt/yay-git
cd /opt/yay-git
Build the Yay Package
Now, proceed to build and install Yay using:
makepkg -siThe duration varies based on system performance. Upon completion, Yay is set up to install DeadBeeF.
Install DeadBeeF with the Yay Command
With Yay ready, proceed to install DeadBeeF. Yay simplifies accessing packages from the AUR. To install, execute:
yay -S deadbeef-git --noconfirmUnderstanding the –noconfirm Flag:
- Automates Confirmation: This flag skips routine installation confirmations for efficiency.
- Speeds Up Installation: Eliminates manual inputs at each step, facilitating a quicker install.
- Recommended for Experienced Users: Ideal for those familiar with the installation process.
- Caution for New Users: New users should consider omitting this flag for more control over the installation steps.
Install DeadBeeF Plugins
After installing DeadBeeF, enhance its functionality by adding plugins. These plugins offer additional features and integrations. Two notable plugins are the Pipewire output plugin and the MPRISv2 plugin. Both can be installed using the Yay command.
DeaDBeeF Pipewire Output Plugin
The Pipewire output plugin allows DeadBeeF to integrate with the Pipewire audio server, providing improved audio management and compatibility. Install it using:
yay -S deadbeef-pipewire-plugin-gitThis command installs the latest version of the Pipewire output plugin directly from the git repository.
DeaDBeeF MPRISv2 Plugin
The MPRISv2 plugin adds support for the Media Player Remote Interfacing Specification (MPRIS) V2, enabling DeadBeeF to interface with various media players and tools that support this standard. Install this plugin using:
yay -S deadbeef-mpris2-plugin-gitInstalling these plugins, you enhance the interoperability and functionality of DeadBeeF on your Manjaro Linux system.
Launch DeadBeeF on Manjaro Linux
Open DeadBeeF via Command Line
For a direct and efficient approach to accessing DeadBeeF on your Manjaro Linux system, utilize the command line. This method is ideal for users who prefer quick access without navigating through graphical interfaces. To open DeadBeeF, execute the following command in your terminal:
deadbeefThis command promptly opens DeadBeeF, facilitating immediate access to your music collection.
Launch DeadBeeF from the Desktop Environment
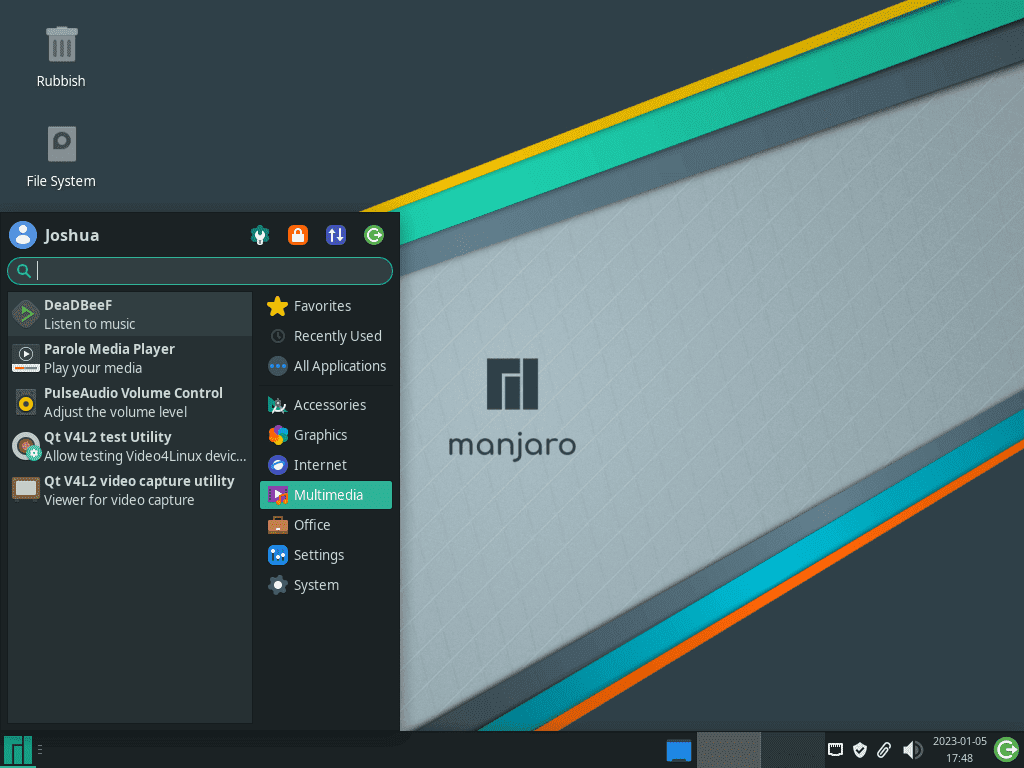
Alternatively, DeadBeeF can be launched from the application menu of your desktop environment. The method varies slightly depending on the desktop environment you are using:
- For KDE and Xfce Users: Go to Taskbar > Multimedia > DeadBeeF. In KDE and Xfce, DeadBeeF is typically found under the ‘Multimedia’ category, reflecting its function as a music player.
- For GNOME Users: Click on Activities and then select Show Applications. Search for DeadBeeF, which will be alphabetically sorted among your installed applications. GNOME’s design makes it easy to locate and launch DeadBeeF.
First-Time Tips for DeadBeeF on Manjaro Linux
Now that you have successfully installed DeadBeeF on Manjaro Linux, here are some first-time tips to help you get started with the software:
General Tips for DeadBeeF Usage
- Explore the Interface: Familiarize yourself with DeadBeeF’s user interface. Understand the layout of menus, buttons, and controls for efficient navigation.
- Keyboard Shortcuts: Learn the default keyboard shortcuts to enhance your user experience. Shortcuts for play, pause, stop, and track navigation are particularly useful.
- Audio Output Configuration: Check the audio output settings. Ensure DeadBeeF is configured to use your preferred audio device and output method.
- File Association: Set DeadBeeF as the default application for audio file formats. This allows you to open music files directly with DeadBeeF.
- Playlist Management: Learn to create, save, and manage playlists. Organizing your music collection into playlists can greatly enhance your listening experience.
- Drag and Drop: Utilize the drag-and-drop feature to easily add music files or entire folders to DeadBeeF.
Customizing DeadBeeF
- Themes and Skins: Explore available themes and skins to customize the look of DeadBeeF to match your desktop environment or personal style.
- Plugin Installation: Install additional plugins to add new features or improve existing ones. Plugins can greatly expand DeadBeeF’s capabilities.
- Equalizer Settings: Tweak the equalizer settings to enhance audio quality or to suit your listening preferences.
- Column Customization: Customize columns in the playlist view. Display information like bitrate, album, year, or any other metadata you find useful.
- Context Menu: Explore the context menu for advanced options like file operations, playlist sorting, and more.
- Hotkeys Configuration: Configure custom hotkeys for frequently used actions to make your music listening more efficient.
Enhancing Your Listening Experience
- Gapless Playback: Enable gapless playback for a seamless listening experience, especially useful for live recordings and concept albums.
- Crossfading: Experiment with crossfading between tracks for a smooth transition, which is particularly enjoyable during parties or personal DJ sessions.
- ReplayGain: Use the ReplayGain feature to normalize the volume level across your music collection for a consistent listening experience.
- Visualization Plugins: Install visualization plugins to add visual elements that respond to the music, enhancing the overall experience.
- Audio Scrobbling: Set up audio scrobbling to track your listening habits, which can be useful for discovering new music and keeping a listening history.
Other Useful DeadBeeF Features
- Metadata Editor: Utilize the built-in metadata editor to edit tags of your audio files, ensuring accurate and organized music libraries.
- Multiple Playlists: Work with multiple playlists simultaneously for various moods or occasions.
- Audio Format Conversion: Use DeadBeeF’s conversion feature to convert audio files between different formats, useful for compatibility with various devices.
- Command Line Integration: Leverage DeadBeeF’s command-line capabilities for automation or integration with other scripts.
- Streaming Support: Explore streaming options to play internet radio or stream from online sources directly within DeadBeeF.
- Audio Effects: Experiment with various audio effects available in DeadBeeF to enhance or alter the sound according to your preferences.

Managing DeadBeeF on Manjaro Linux
Update DeadBeeF on Manjaro
Regular updates are crucial for maintaining DeadBeeF’s performance and security on Manjaro Linux. System-wide updates, which include DeadBeeF and other installed packages, can be performed via the command line.
Update Command:
yay -Syu --devel --timeupdateCommand Options Explained:
--devel: This option targets updates for development versions of packages, including DeadBeeF if you’ve installed a development version.--timeupdate: Synchronizes your system’s time before updating, which ensures accurate processing of updates.
Remove DeadBeeF from Manjaro
If you need to uninstall DeadBeeF from your Manjaro system, the following command can be used. Be mindful that uninstallation is irreversible and should be a well-considered action.
Uninstallation Command:
yay -Rns deadbeef --noconfirmUnderstanding the –noconfirm Flag:
- The
--noconfirmoption streamlines the uninstallation process by skipping manual confirmation steps.
Clean Up Unused Dependencies Post-Uninstallation
Post-uninstallation of DeadBeeF, it’s important to clean up any residual files and unused dependencies. This maintains system efficiency and prevents bloat.
Cleanup Command:
yay -YcThis command searches for and removes orphaned packages, which were dependencies for DeadBeeF but are no longer needed. Regular cleanup is essential for maintaining a lean and optimized system.
Conclusion
In this guide, we’ve walked through the essentials of installing and managing DeadBeeF on Manjaro Linux, from the initial setup using Yay AUR Helper to the installation of useful plugins. We also covered updating and removing DeadBeeF, ensuring your system stays streamlined and secure. Remember, customization is key with DeadBeeF – explore its plugins and settings to truly make it your own. As you dive into your enhanced music experience, keep these tips and commands handy for reference. Happy listening!