

CMake, an essential tool in the software development landscape, facilitates a cross-platform open-source build system. Understanding its capabilities and integration is crucial for those aiming to install CMake on Rocky Linux 9 or the older stable Enterprise Linux release of Rocky Linux 8.
Key Attributes of CMake:
- Cross-Platform Capability: CMake’s design allows it to generate native build files compatible with various platforms, ensuring flexibility in software development.
- Comprehensive Functionality: Beyond just building, CMake supports testing, packaging, and even the generation of project files for renowned IDEs like Visual Studio and Xcode.
- User-Friendly Design: CMake’s popularity stems from its intuitive nature, making it accessible for beginners and seasoned developers.
- Broad Compiler & Platform Support: CMake’s versatility is evident in its wide-ranging support for numerous compilers and platforms, ensuring adaptability in diverse development environments.
For Rocky Linux users, CMake emerges as a pivotal tool, especially when navigating the intricacies of expansive projects that demand builds across multiple platforms.
This guide is tailored to demonstrate the installation process of CMake on Rocky Linux. Detailed steps will be provided for Rocky Linux 9 and Rocky Linux 8, encompassing installation via the dnf package manager and the native app stream and the method of compiling from source. Both approaches are designed to cater to varied user preferences and requirements.
Update Rocky Linux Before CMake Installation
First, make sure your system is up-to-date by running an update on all existing packages.
sudo dnf upgrade --refreshInstall CMake on Rocky Linux 9 or 8
Method 1: Install CMake on Rocky Linux 9 or 8 via DNF
The first method recommended for most users is to install CMake from the appstream. This version is the default and is recommended for most users unless you need a specific version or the latest version, in which case you must use the compile method. To begin the installation, use the following command.
sudo dnf install cmakeOnce CMake is installed, you can confirm the installation by checking the version of CMake.
cmake --versionMethod 2: Install CMake on Rocky Linux 9 or 8 via Source
The second method for installing CMake is downloading and compiling the source code. This method allows you to install the latest version of CMake. However, it comes with the responsibility of remembering to download and re-compile the source code for updates.
Before beginning the installation process, you must install some required dependencies on your system. You can do this by running the following command.
sudo dnf install gcc gcc-c++ openssl-devel bzip2-devel libffi-devel zlib-devel make -yFirst, visit the Github releases page and grab the latest version link.
Next, download the archive using the wget command.
This is an example command only, do not copy this. Visit the release page for CMake to download the latest source as the example will be outdated.
wget https://github.com/Kitware/CMake/releases/download/v3.25.2/cmake-3.25.2.tar.gzExtract the archive using the following command.
tar -zxvf cmake-{version number}.tar.gzChange the directory into the extracted folder using the following command.
cd cmake-{version number}In the next step, you will run the Bootstrap script. It is essential to ensure that all the required dependencies mentioned earlier are installed, as this may cause issues if not done so.
./bootstrap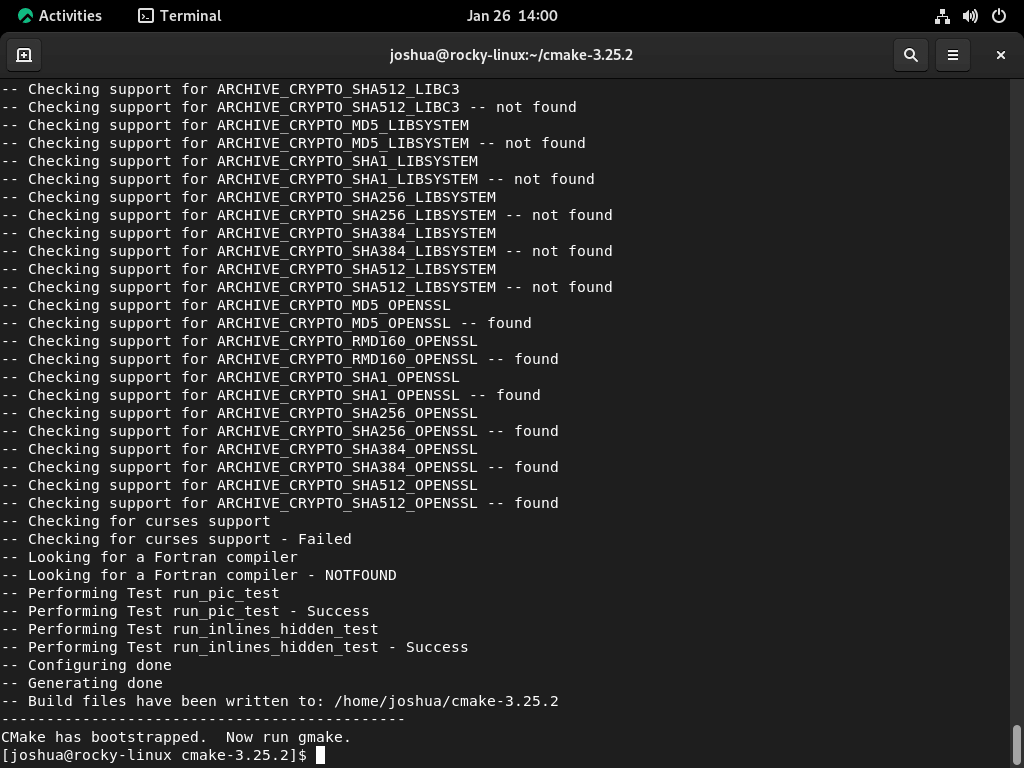
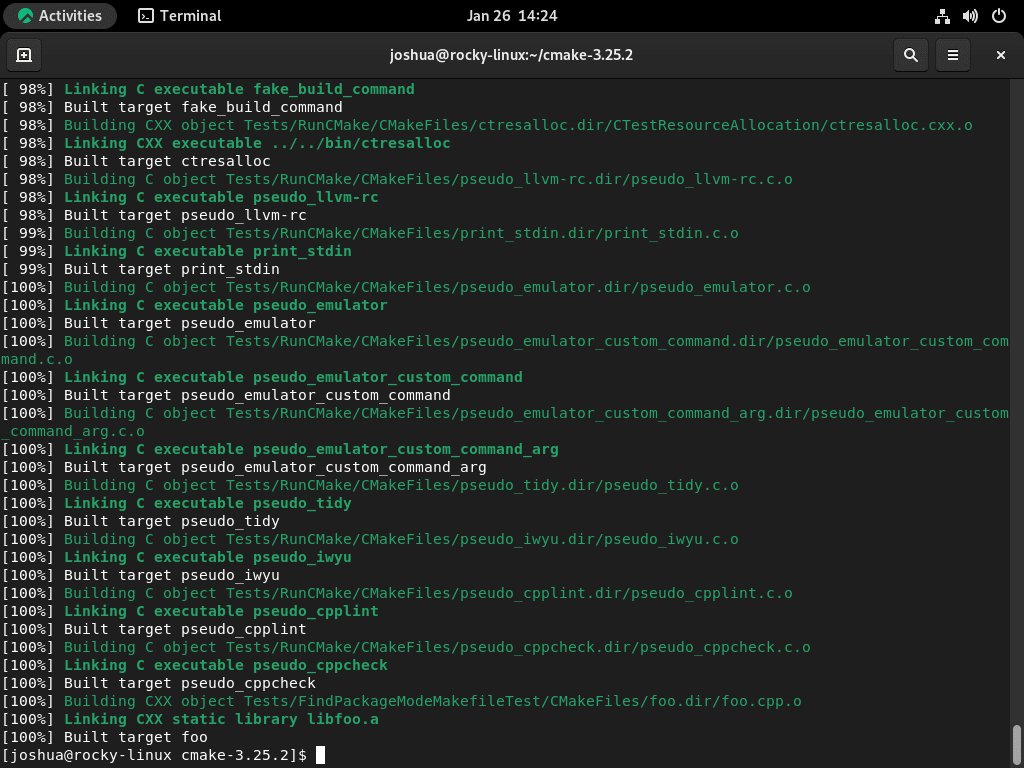
Once the Bootstrap script is completed, use the make command to build the CMake package. This process may take several minutes to complete.
makeThis process may take several minutes, so you may want to take a break or grab a drink while you wait.
The next step is to install CMake using the “make install” command.
sudo make install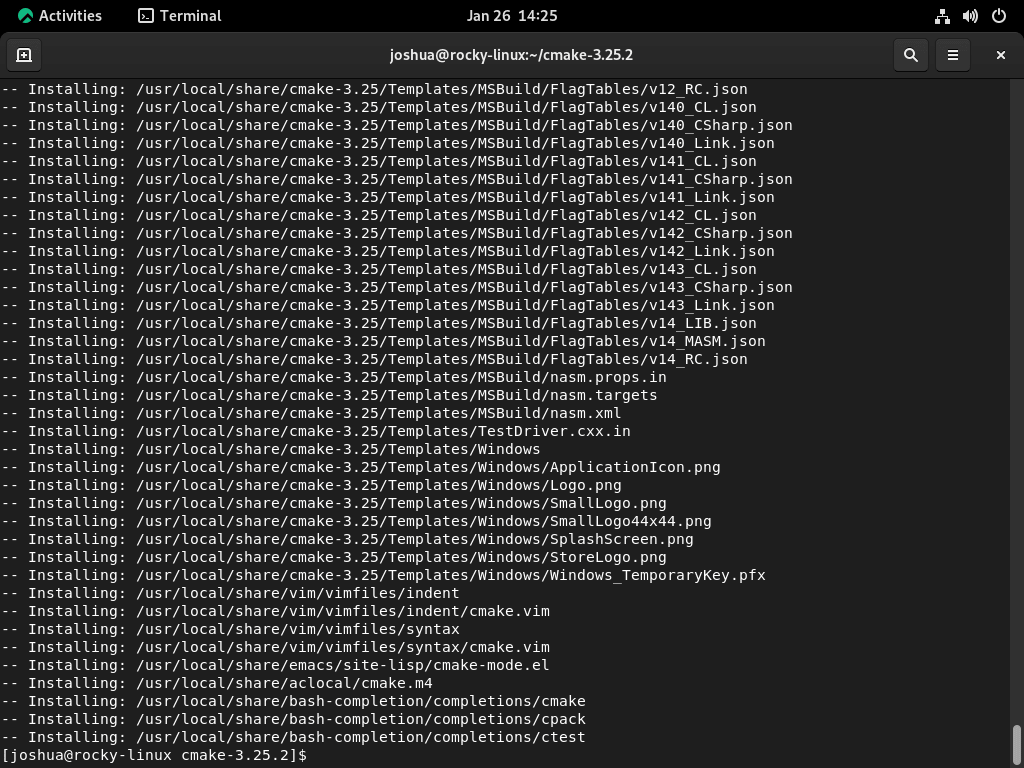
Once completed, you can verify the installation by checking the version of CMake using the following command.
cmake --versionExample output:
cmake version 3.25.2

CMake suite maintained and supported by Kitware (kitware.com/cmake).
Conclusion
In conclusion, installing CMake on Rocky Linux is a straightforward process that can be done through two methods: using the dnf package manager with the native app stream or compiling from the source. Both methods will install the latest version of CMake, but the app-stream method is recommended for most users as it is simpler and does not require additional steps for updates. The compile method is recommended for users requiring the latest CMake version or a specific version. Regardless of the method chosen, it is essential to confirm the installation by checking the version of CMake to ensure it has been installed correctly.
For further reading, visit CMake’s official documentation.