

Brave Browser, an innovative web browser built on the Chromium engine, has been making waves in the digital realm. Developed by Brendan Eich, the co-founder of Mozilla and the creator of JavaScript, Brave’s primary mission is to offer a browsing experience that prioritizes speed, security, and user privacy. If you’re considering learning to install Brave Browser on Rocky Linux 9 or the older stable Enterprise Linux release of Rocky Linux 8, this guide is tailored for you.
Distinctive Features of Brave Browser:
- Ad and Tracker Blocking: Brave inherently blocks third-party ads and trackers, enhancing page load speeds and bolstering security.
- Privacy-Centric: Brave is designed to respect user privacy, ensuring a safer and more private browsing experience.
- Performance: Leveraging the Chromium engine, Brave promises both stability and superior performance.
- Brave Rewards: Users can earn cryptocurrency through the Brave Rewards program by viewing ads.
- Tor Integration: Brave offers a Tor private browsing mode, further enhancing user privacy.
- HTTPS Everywhere: This feature ensures that websites default to the secure HTTPS protocol.
- Extensions Support: Brave supports browser extensions on the Chrome Web Store, expanding its functionality.
- Customizable UI: Users can tailor the browser’s interface to their preferences.
- Web3 and dApps: Brave has built-in support for web3 and decentralized apps, catering to the evolving web landscape.
This guide will elucidate the process of installing Brave Browser on Rocky Linux 9 or the older stable release of Rocky Linux 8. It will encompass steps for importing official GPG keys, adding repositories, and managing different browser versions. Whether you’re looking to install the stable, beta, or nightly versions or need guidance on managing the DNF repository, this guide covers you.
Install Brave Browser on Rocky Linux 9 or 8 via DNF
Step 1: Update Rocky Linux Before Brave Installation
It’s important to note that you should update all existing packages on Rocky Linux before installing the Brave Browser. This helps prevent conflicts during the installation process and maintains a stable system.
sudo dnf upgrade --refreshStep 2: Import Brave RPM Repository on Rocky Linux
When installing the Brave Browser on Rocky Linux, users have three options. The first and most recommended option is to install the stable version of the Browser, which is suitable for most users’ needs. However, installing the beta and nightly build repositories alongside the stable version is also possible for more advanced or curious users. This will provide access to the latest features and updates, but note that these versions may be less stable.
We recommend importing the Brave browser stable repository as the first option above all other choices.
Run the following command to import stable GPG KEY.
sudo rpm --import https://brave-browser-rpm-release.s3.brave.com/brave-core.ascRun the following command to import the stable repository.
sudo dnf config-manager --add-repo https://brave-browser-rpm-release.s3.brave.com/brave-browser.repoNext, follow these steps if you want to import the beta or nightly Brave Browser builds.
Run the following command to import the beta and nightly GPG KEY.
sudo rpm --import https://brave-browser-rpm-beta.s3.brave.com/brave-core-nightly.ascRun the following command to import Beta Repository.
sudo dnf config-manager --add-repo https://brave-browser-rpm-beta.s3.brave.com/brave-browser-beta.repo
Lastly, the following command is to import the Nightly Repository.
sudo dnf config-manager --add-repo https://brave-browser-rpm-nightly.s3.brave.com/brave-browser-nightly.repoStep 3: Install Brave Browser on Rocky Linux 9 or 8
With Brave Browser utilizing the DNF method with Brave’s RPM, you can install all three versions currently as they share seperate installations.
You can now install the Brave Browser on Rocky Linux using the command below.
sudo dnf install brave-browserIn addition to the stable version of the Brave Browser, you can install the beta and nightly build versions by adding the appropriate repositories. However, these versions aren’t suitable for everyday use and might not offer the same stability as the stable version. Thus, you shouldn’t use them on your primary desktop or in a production environment.
Use the command below to install the beta version of the Brave Browser on Rocky Linux:
sudo dnf install brave-browser-betaFinally, use the below command to install the nightly version of the Brave Browser on Rocky Linux.
sudo dnf install brave-browser-nightlyInstall Brave Browser on Rocky Linux 9 or 8 via Flatpak and Flathub
Currently, only the stable version of Brave Browser is installable with Flatpak and Flathub. For most users, this is what you should be installing and utilizing. If you want to install the beta or nightly, use the DNF method.
In addition to the DNF method, you can set up the Brave Browser on Rocky Linux using the Flatpak package management system and the Flathub distribution platform. This approach offers a viable alternative to DNF, providing another reliable way to get the Brave Browser running on your machine.
Step 1: Enable Flatphub on Rocky Linux For Brave Browser
Flatpak stands out as a forward-looking solution aiming at crafting, delivering, setting up, and operating sandboxed desktop programs on Linux platforms. Before diving into the Brave Browser setup, switching on Flatpak is essential.
To enable Flatpak, initiate the given command:
flatpak remote-add --if-not-exists flathub https://flathub.org/repo/flathub.flatpakrepo
The command sets up the flathub repository, assuming you haven’t already added it. The flathub depot houses Flatpak’s app compilations and offers a wide range of programs ready for installation and use in your Linux environment.
Step 2: Install Brave Browser on Rocky Linux 9 or 8 via Flatpak and Flathub
You’re ready to proceed with the Brave Browser setup after successfully switching on Flatpak coupled with the flathub repository. To install the Brave Browser on your Rocky Linux setup via Flatpak, put into action the subsequent command:
flatpak install flathub com.brave.Browser -yUsing this command, you’re directing Flatpak to retrieve the latest Brave Browser edition from the flathub depot and establish it on your machine.
Launching Brave Browser on Rocky Linux 9 or 8
Once the installation of the Brave Browser on Rocky Linux is complete, there are a few ways to launch the Browser. One way is to use the command provided below while in the terminal. This command will start the Browser, allowing you to browse the web.
Match the command that matches the version of Brave browser you installed, aka stable, beta, or nightly.
brave-browser
brave-browser-beta
brave-browser-nightly
For installations using Flatpak, you can launch the stable version with the following command:
flatpak run com.brave.BrowserDesktop users who prefer not to use the command line terminal can best use the Brave Browser on Rocky Linux by opening the application’s graphical user interface (GUI). Depending on your setup, you can navigate to the appropriate location in the system’s application launcher or menu.
Activities > Show Applications > Brave Browser.

When you open the Brave Browser for the first time on Rocky Linux, a pop-up window appears. This window lets you import your bookmarks, browsing history, and saved passwords from your previous browser, if you have any. If you decide to import your data, the system prompts you to select the data you want to import.
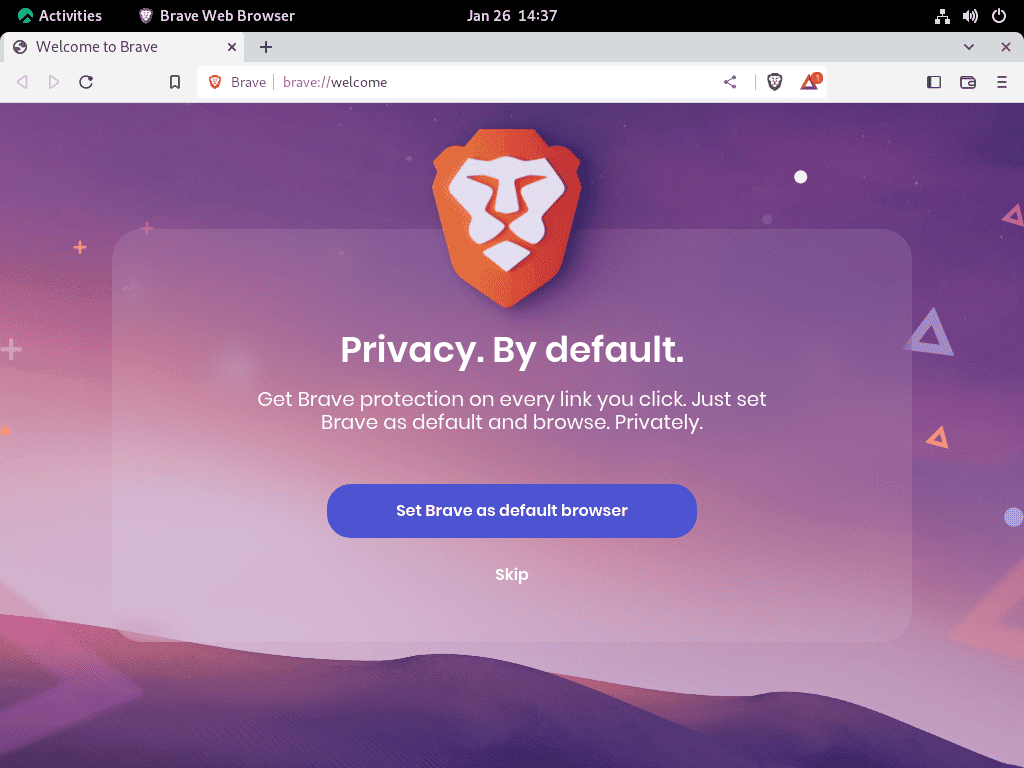
Once you import your data, the system will direct you to the default search engine landing page, should you opt for it. Here, you can begin browsing the internet with the Brave Browser. You have the option to change the default search engine, tailor your settings, and add bookmarks or extensions to improve your browsing experience. Furthermore, the built-in privacy features like ad-blocking and tracker blocking allow for a safer and faster browsing experience.
Tips on Getting Started on Brave Browser on Rocky Linux 9 or 8
Now that you have successfully installed Brave Browser on Rocky Linux, here are some first-time tips for users new to Brave and unfamiliar with it.
General Tips for Brave Browser on Rocky Linux
- Shields Up for Privacy: Brave has a built-in feature called Shields that offers protection from ads and trackers. Shields is turned on by default, but you can adjust site-by-site settings to ensure optimal browsing experience.
- Brave Rewards and BAT: Engage with the Brave Rewards program. This system lets you earn Basic Attention Tokens (BAT) by viewing privacy-respecting ads. You can then tip or contribute to your favorite content creators.
- Sync Across Devices: Brave supports syncing your bookmarks, settings, and extensions across devices. Although the sync improves, you can activate it under the Brave Sync option in the settings.
Customization Tips with Brave Browser on Rocky Linux
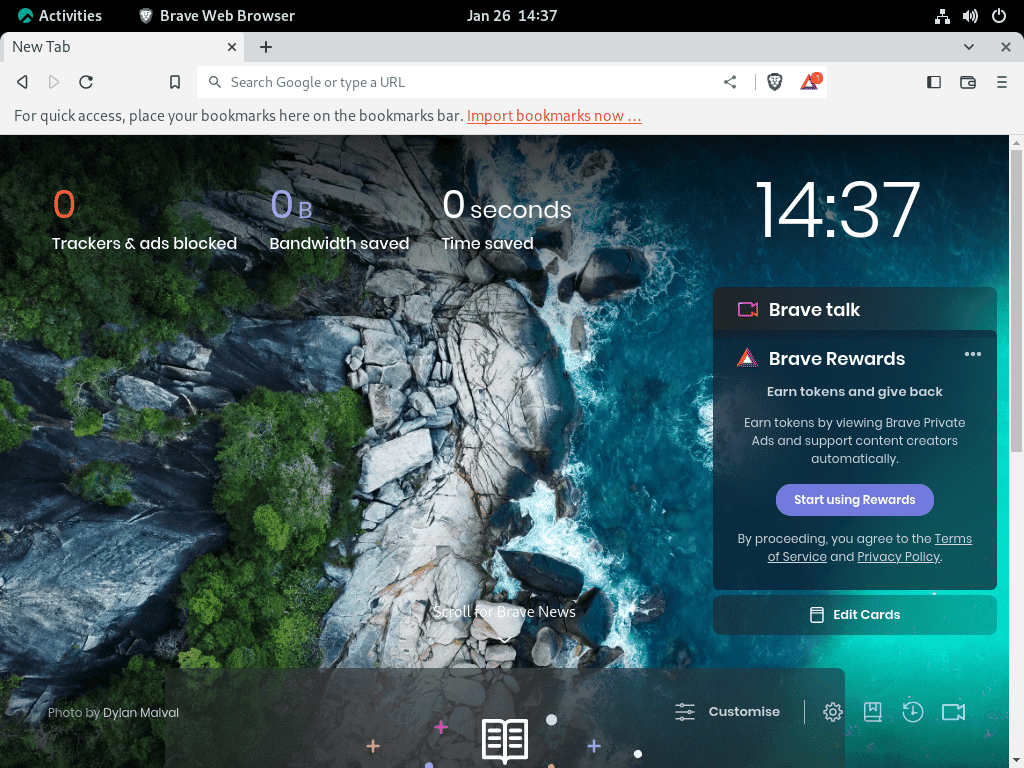
- Customize Your Dashboard: Upon opening a new tab, you’ll see the Brave dashboard. This can be customized to show a preferred background, bookmarks, and even statistics related to ads blocked and time saved.
- Extensions Galore: Like Chrome, Brave supports Chrome Web Store extensions. Visit the Chrome Web Store, find your desired extension, and click “Add to Brave.”
- Theme Your Browser: Brave allows for themes that can change the look and feel of the browser. Dive into the settings, and under the appearance section, you can select and customize your theme.
Other Handy Tips with Brave Browser on Rocky Linux
- Built-in WebTorrent: Brave comes with a built-in torrent client. Click on a magnet link, and the browser will download the torrent.
- Private Windows with Tor: Use Brave’s private browsing mode with Tor for enhanced privacy. This hides your history and location from the websites you visit and routes your browsing through several servers before landing on your destination.
- Shortcut to Settings: Quickly access settings by typing
brave://settingsin the address bar. This provides a fast route to customize and configure your browser.
By harnessing these tips, users can effortlessly navigate and tailor the Brave Browser according to their preferences and requirements. The steps and suggestions offered ensure a robust, secure, and optimized browsing experience for every Linux user venturing into the world of Brave.
Additional Brave Browser Commands on Rocky Linux 9 or 8
Update Brave Browser on Rocky Linux 9 or 8
Given that you have installed the Brave Browser on Rocky Linux using the DNF package manager, you will receive notifications for updates and your other system updates. However, it is recommended to periodically check for updates manually using the command line terminal to ensure that you have the latest version of the Browser. This will help keep your Browser up to date with the latest features and security fixes.
sudo dnf upgrade --refreshIf you alternatively installed Brave via Flatpak and Flathub on Rocky Linux, run the following command to check for updates for all your flatpak installed applications:
flatpak updateRemove (Uninstall) Brave Browser From Rocky Linux 9 or 8
DNF Method to Remove Brave Browser From Rocky Linux
To remove the Brave Browser from your Rocky Linux system, you can use one of the following commands corresponding to your browser version.
sudo dnf remove brave-browserSuppose you have installed the beta or unstable version of the Brave Browser on your Rocky Linux system. In that case, you can use the commands below to remove the beta or unstable versions.
sudo dnf remove brave-browser-betasudo dnf remove brave-browser-nightlyAfter removing the Brave Browser from your Rocky Linux system, it’s also good practice to disable the repositories you added for the Browser. Disabling the repositories prevents their use. However, if you reinstall the Browser, you can quickly enable the repositories and go through the installation process again.
sudo dnf config-manager --set-disabled brave-browser*Notably, disabling the above repositories will disable all the added Brave Browser repositories. To do this, you can replace “brave-browser*” with the full name of the repository, which you can find by printing out the list of Brave Browser repositories you imported into your terminal.
dnf repolist | grep braveExample output:
brave-browser-rpm-beta.s3.brave.com_x86_64_    created by dnf config-manager from https://brave-browser-rpm-beta.s3.brave.com/x86_64/
brave-browser-rpm-nightly.s3.brave.com_x86_64_ created by dnf config-manager from https://brave-browser-rpm-nightly.s3.brave.com/x86_64/
brave-browser-rpm-release.s3.brave.com_x86_64_ created by dnf config-manager from https://brave-browser-rpm-release.s3.brave.com/x86_64/
This will ensure that you disable only the specific repositories related to the particular Brave Browser version. For example, you might want to disable beta and nightly but keep the stable version.
An example to disable the beta would be the following command.
sudo dnf config-manager --set-disabled brave-browser-rpm-beta.s3.brave.com_x86_64_Run the dnf repolist command again to confirm you have disabled it. To enable the previously disabled beta repository, replace the “-set-disabled” option in the command with “-set-enabled.”
Users who wish to re-enable the repositories for future installation of the Brave Browser on their Rocky Linux system can use the following command. This command reactivates the previously added repositories, so users can install the Browser again using the same steps outlined in the guide without importing the repositories again.
sudo dnf config-manager --set-enabled brave-browserFlatpak Method to Remove Brave Browser From Rocky Linux
Run the following command to remove the Flatpak installation of Brave Browser:
flatpak uninstall com.brave.BrowserConclusion
Installing Brave Browser on a Rocky Linux desktop is super easy. You must follow simple steps to import the official GPG keys and repository. Once installed, you’ll have a fast and secure browser, and it’s super easy to use. You can install the Browser’s stable, beta, or nightly version. Once installed, you can start browsing the internet, customize your settings, and add bookmarks or extensions. The Browser will stay updated with the latest features and security fixes by checking for updates manually or through the DNF package manager. And if you ever want to uninstall or disable the Brave Browser, it’s a breeze with a simple command line terminal.