
Brasero provides a straightforward disc-burning solution for creating audio CDs from your music collection, backing up important files to data discs, burning downloaded ISO images, and creating video DVDs. The application integrates seamlessly with the GNOME desktop environment and includes disc verification to ensure successful burns. Whether you’re archiving family photos, creating music compilations, or installing operating systems from ISO files, Brasero handles everyday disc-burning tasks without unnecessary complexity.
This guide walks you through installing Brasero on Ubuntu with either the built-in APT (Advanced Packaging Tool) repositories or the Flatpak build from Flathub, similar to choosing between Microsoft Store and portable desktop apps on Windows. Along the way you’ll update prerequisites, launch the app from the terminal or Activities menu, configure reliable burn settings, troubleshoot common errors, and remove Brasero cleanly whenever you’re finished.
Choose Your Brasero Installation Method
Brasero is available as a native Ubuntu package and as a sandboxed Flatpak build from Flathub. Pick the approach that matches how you prefer to manage desktop software:
| Method | Version Source | Stability | Best For |
|---|---|---|---|
| APT (Ubuntu repository) | Ubuntu Repos | Fully integrated with system updates | Most users who want zero extra maintenance and GNOME shell integration |
| Flatpak (Flathub) | Flathub | Sandboxed app with frequent upstream refreshes | Users who prefer per-app isolation or a consistent Flatpak workflow across desktops |
For most users, the APT method is recommended because it integrates with system updates and requires no additional setup. Flatpak is a good alternative if you already use it for other applications or want per-app sandboxing.
These steps cover Ubuntu 22.04 LTS, 24.04 LTS, and 26.04 LTS. Both installation methods use universal repositories, so the commands work identically across all supported LTS releases.
Update System Packages
First, open the Terminal application from your desktop menu or Activities overview. Then update your system packages to prevent installation conflicts and ensure you receive the latest security patches:
sudo apt update && sudo apt upgradeInstall Brasero Disc Burning Application
Method 1: Install Brasero with APT (Recommended)
Ubuntu ships Brasero in the main repository with dependencies for burning CD-R/RW, DVD±R/RW, BD-R/RE media, handling MP3, FLAC, WAV, and OGG audio, and writing ISO, TOC, or CUE images. Install it with your usual administrative account:
sudo apt install braseroAPT typically installs recommended optical-drive helpers such as brasero-cdrkit alongside the main package, so you can launch Brasero immediately after the installation completes.
Verify the APT Package
Confirm the version that landed on your system to ensure the install succeeded:
apt show brasero | grep VersionThe output confirms the installed version:
Version: 3.12.3-6
Your version number may differ slightly depending on your Ubuntu release, but any 3.12.x version confirms a successful installation.
Method 2: Install Brasero via Flatpak
Alternatively, Flatpak offers a sandboxed Brasero build that tracks upstream GNOME releases independently of Ubuntu’s cadence. This method keeps Brasero isolated from your system libraries, which can be useful on shared machines or when you want consistent behavior across different desktop environments.
Flatpak is not pre-installed on Ubuntu. If you have not set it up yet, follow our Flatpak installation guide for Ubuntu to install the Flatpak framework and add the Flathub repository; this typically takes under five minutes.
Once Flatpak is ready, add Flathub if you have not already done so:
sudo flatpak remote-add --if-not-exists flathub https://flathub.org/repo/flathub.flatpakrepoThen install Brasero from the Flathub remote:
sudo flatpak install flathub org.gnome.Brasero -yLaunch Flatpak builds from the terminal whenever you need to bypass the Activities menu:
flatpak run org.gnome.BraseroYou can confirm the Flatpak version at any time with:
flatpak info org.gnome.Brasero | grep VersionThe output shows the installed Flatpak version:
Version: 3.12.3
The Flathub build typically matches the latest upstream GNOME release, though version numbers may differ from the APT package.
Launch Brasero from Terminal or Applications Menu
Once installation completes, you can launch Brasero from either the terminal or your applications menu.
Launch from Terminal
To launch Brasero from the command line, run the command that matches how you installed it:
APT installation:
braseroFlatpak installation:
flatpak run org.gnome.BraseroPress Enter after either command and Brasero opens with your saved preferences.
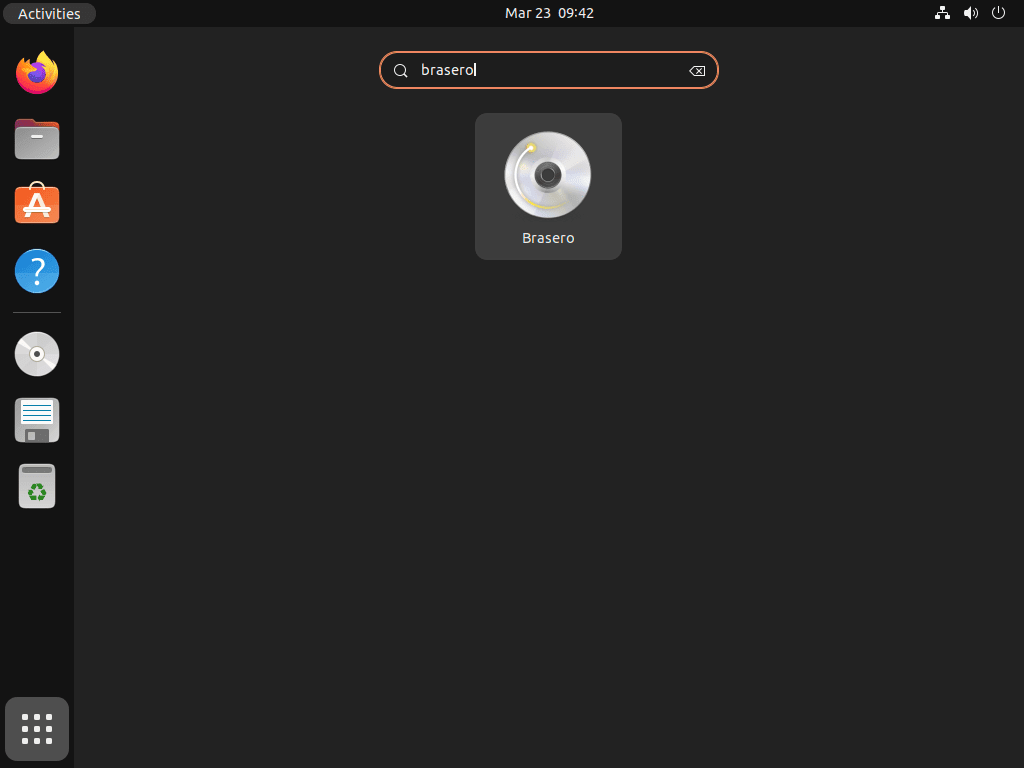
Launch from Applications Menu
Alternatively, launch Brasero from your application menu:
- Click the Activities overview in the top-left corner or press the Super key to open the application search.
- Select the “Show Applications” (nine-dot) icon at the bottom of the dock or start typing “Brasero” to search.
- Click “Brasero” when it appears in the list to launch the application.
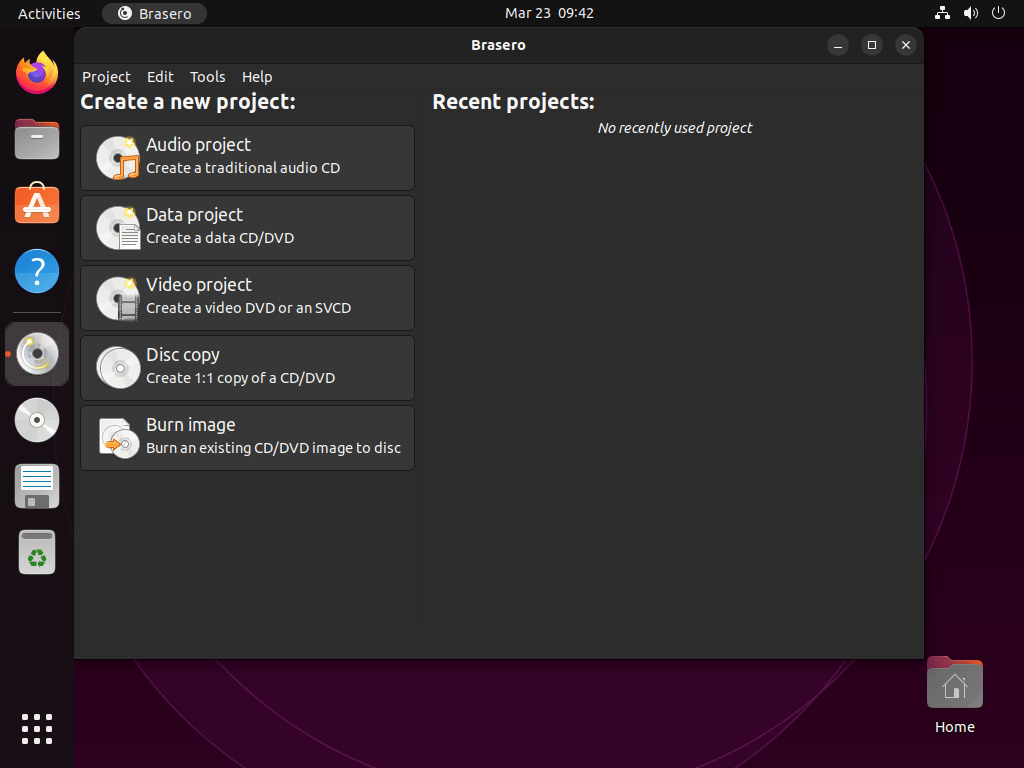
Configure Your First Brasero Project
When Brasero first opens, the main window displays project type options. Here is how to get started with common disc-burning tasks.
Starting Your First Burn
Select a project type from the main window based on your needs:
- Audio project: Create music CDs playable in standard CD players. Brasero converts formats like MP3, FLAC, and OGG automatically.
- Data project: Back up files and folders to CD or DVD. Useful for archiving documents, photos, or system backups.
- Video project: Create video DVDs playable on DVD players. Brasero handles format conversion automatically.
- Disc copy: Create exact duplicates of existing discs or copy disc contents to an ISO image file.
- Burn image: Write ISO, TOC, or CUE disc images to CD or DVD for operating system installations or software distributions.
Use CD-R discs for audio CDs rather than CD-RW, since most CD players cannot read rewritable discs reliably. CD-RW discs work well for data backups where you need to erase and reuse the media, but standard audio CD players lack the laser sensitivity required to read rewritable formats consistently.
Burn Settings Explained
Before starting your burn, configure these settings for optimal results:
- Burning speed: Lower speeds (4x-8x) provide more reliable burns for older or cheaper media. However, maximum speed works well for quality discs.
- Burnproof: Enabled by default, this feature prevents buffer underrun errors that can ruin discs. Keep this enabled unless you have specific reasons to disable it.
- Temporary directory: Brasero needs space to prepare files before burning. Ensure your /tmp directory has sufficient free space (at least twice the project size).
Disc Verification
Likewise, Brasero offers verification options in the burn dialog to confirm data integrity after burning. The verification process compares the burned data against the source files to ensure successful completion. Although this step adds a few minutes to the burn time, it confirms your data was written correctly. For critical backups or operating system installations, verification is strongly recommended.
Troubleshooting Common Issues
Disc Not Detected
If Brasero doesn’t detect your optical drive or inserted disc, try these solutions:
- Verify the disc is properly seated in the drive tray
- Check if the drive appears in file manager (Files application)
- Try a different disc to rule out media defects
- Restart Brasero after inserting the disc
- Verify your user account has permission to access optical drives
Next, confirm that your account belongs to the cdrom group with this command:
groupsThe output lists all groups your account belongs to:
username adm cdrom sudo dip plugdev lpadmin sambashare
If cdrom does not appear in this list, you need to add your user to that group (covered in the Permission Errors section below).
Burn Failures and Buffer Underruns
If burns fail or produce unusable discs, consider these solutions:
- First, reduce burning speed to 4x or 8x for more reliable writes
- Close other applications during burning to free system resources
- Check available space in the /tmp directory
- Ensure Burnproof is enabled in burn settings
- Try different disc brands – quality varies significantly between manufacturers
- For rewritable discs (CD-RW/DVD-RW), blank the disc completely before attempting another burn if previous writes failed
Use this command to see how much temporary space you have available:
df -h /tmpThe output shows available space on the /tmp partition:
Filesystem      Size  Used Avail Use% Mounted on
/dev/sda1       50G   25G   23G  52% /
Brasero needs at least twice the project size available for temporary files. If your /tmp directory has less than 10 GB free, consider clearing temporary files or using a different location in Brasero’s preferences.
DVD Compatibility Issues
If you experience problems burning DVDs, verify these compatibility factors:
- Check if your drive accepts DVD+ or DVD- discs (drives labeled “multi” typically accept both)
- Verify your disc matches your drive’s capabilities – some drives cannot write to dual-layer discs
- For DVD-R discs, ensure they haven’t been written to previously
- For DVD-RW discs, blank them before writing if they contain data
Permission Errors
If Brasero reports permission errors when accessing the drive, add your user to the cdrom group:
sudo usermod -a -G cdrom $USERFor terminal work, you can refresh the session without logging out by running:
newgrp cdromYou still need to log out and back in for the group membership change to reach graphical apps, even if you refresh the terminal session with
newgrp.
Unsupported Format Errors
If Brasero can’t recognize audio or video files, start by installing the broader GStreamer plugin sets for codec coverage:
sudo apt install gstreamer1.0-plugins-bad gstreamer1.0-plugins-uglyAdd proprietary codecs for AAC or WMA playback when you need to process media ripped from older libraries:
sudo apt install ubuntu-restricted-extrasThis meta-package also installs Microsoft core fonts and extra multimedia libraries, so skip it if you prefer to keep proprietary components off your system.
Finally, verify file integrity, because corrupted files cannot be converted or burned successfully. Run a checksum on troublesome media files or ISO images and compare it to the source download page to ensure your copy isn’t damaged:
sha256sum /path/to/download.isoFlatpak Access to Optical Drives
The Flatpak build runs in a sandbox, so it may not see your optical drive or removable media path until you grant extra access. First, allow Brasero to reach your media mount directory and the drive hardware:
sudo flatpak override --filesystem=/run/media/$USER --device=all org.gnome.BraseroThis override keeps the sandboxed application from throwing “device not found” errors when blank discs are inserted. When you’re done troubleshooting, you can return to the default confinement with:
sudo flatpak override --reset org.gnome.BraseroManage Brasero: Updates and Removal
Update Brasero to Latest Version
Updates follow the channel you selected earlier, so keep Brasero current the same way you patch the rest of your system:
APT installations: Run your regular maintenance cycle so Brasero receives the latest security fixes alongside the rest of Ubuntu:
sudo apt update && sudo apt full-upgradeFlatpak installations: Update the sandboxed build directly from Flathub:
sudo flatpak update org.gnome.BraseroRemove Brasero from Ubuntu
Remove Brasero with the command that matches your installation source.
APT installation:
sudo apt remove braseroAfter removing the main package, clean up any orphaned dependencies that were installed alongside Brasero:
sudo apt autoremoveThis removes the application while preserving your configuration files. To remove everything including configuration data, use:
sudo apt purge brasero && sudo apt autoremoveFlatpak installation:
sudo flatpak uninstall org.gnome.BraseroAfter removing the application, clean up any unused Flatpak runtimes:
flatpak uninstall --unusedConclusion
Brasero remains a dependable disc-burning utility for creating audio CDs, backing up data to optical media, burning ISO images, and producing video DVDs. Whether you install it from the Ubuntu archive or Flathub, you gain GNOME-integrated controls, optional verification, and codec-friendly workflows for household archives and lab work alike. Keep it updated through your preferred package manager and you will always have a reliable tool ready for audio mixes, backups, and installer media.