
Jumping between separate apps for modeling, animation, and rendering slows down a 3D pipeline. Blender rolls all of that into one open-source tool. To install Blender on Ubuntu, pick from APT for the distro-tested build, Flatpak for the latest upstream release, or Snap for automatic background updates.
Install Blender on Ubuntu
Three installation paths are available, each with different trade-offs between version freshness and system integration:
| Method | Channel | Version | Updates | Best For |
|---|---|---|---|---|
| APT | Ubuntu Repos | Distribution default | Automatic via apt upgrade | Users who prefer distro-tested stability |
| Flatpak | Flathub | Latest stable | Automatic via flatpak update | Users wanting the newest features with sandboxing |
| Snap | Snapcraft | Latest stable | Automatic background updates | Users preferring Canonical’s universal package format |
APT is the simplest option and integrates with the rest of your system packages. Flatpak or Snap deliver the current upstream release (5.0.x as of early 2026) regardless of which Ubuntu version you run.
These steps cover Ubuntu 26.04, 24.04, and 22.04. The APT default version differs by release (see the table above), while Flatpak and Snap always provide the latest upstream build.
Install Blender on Ubuntu via APT (Default)
Update Ubuntu Before Installing Blender
Refresh the package index and apply any pending upgrades before installing new software:
sudo apt update && sudo apt upgradeThis guide uses
sudofor commands that need root privileges. If your user is not in the sudoers file yet, follow the guide on how to add a user to sudoers on Ubuntu.
Install Blender with APT
Ubuntu’s default repository includes Blender. The version you get depends on your release, but the install command is the same:
sudo apt install blenderVerify the installation:
blender --versionExample output on Ubuntu 26.04:
Blender 4.3.2
Ubuntu 24.04 ships 4.0.x and Ubuntu 22.04 ships 3.0.x. The exact patch level depends on the latest point release in your repository.
Install Blender on Ubuntu via Flatpak
Flatpak delivers the latest Blender version regardless of your Ubuntu release. The application runs in a sandbox, isolating it from the rest of your system while still providing full GPU and file access.
Flatpak is not pre-installed on Ubuntu. If you have not set it up yet, install it with
sudo apt install flatpakand restart your session before continuing. For detailed setup including the Flathub repository, follow our Flatpak installation guide for Ubuntu.
Enable Flathub for Blender
Add the Flathub remote if it is not already configured:
sudo flatpak remote-add --if-not-exists flathub https://flathub.org/repo/flathub.flatpakrepoThe --if-not-exists flag skips this step if Flathub is already configured.
Install Blender with Flatpak
Install Blender system-wide from Flathub:
sudo flatpak install flathub org.blender.Blender -yConfirm the installation details:
flatpak info org.blender.BlenderExample output:
Blender - Free and open source 3D creation suite

          ID: org.blender.Blender
         Ref: app/org.blender.Blender/x86_64/stable
      Branch: stable
      Origin: flathub
     Version: 5.0.1
Install Blender on Ubuntu via Snap
Snap is pre-installed on standard Ubuntu desktops, so no additional setup is needed.
Ubuntu includes Snap by default, but minimal or server installations may lack it. If the snap command is not found, install it with
sudo apt install snapdbefore continuing.
Install Blender with Snap
Blender’s snap uses classic confinement so it can access GPU drivers and project files directly:
sudo snap install blender --classicCheck the installed version:
snap info blender | grep installedExample output:
installed: 5.0.1 (6898) 417MB classic
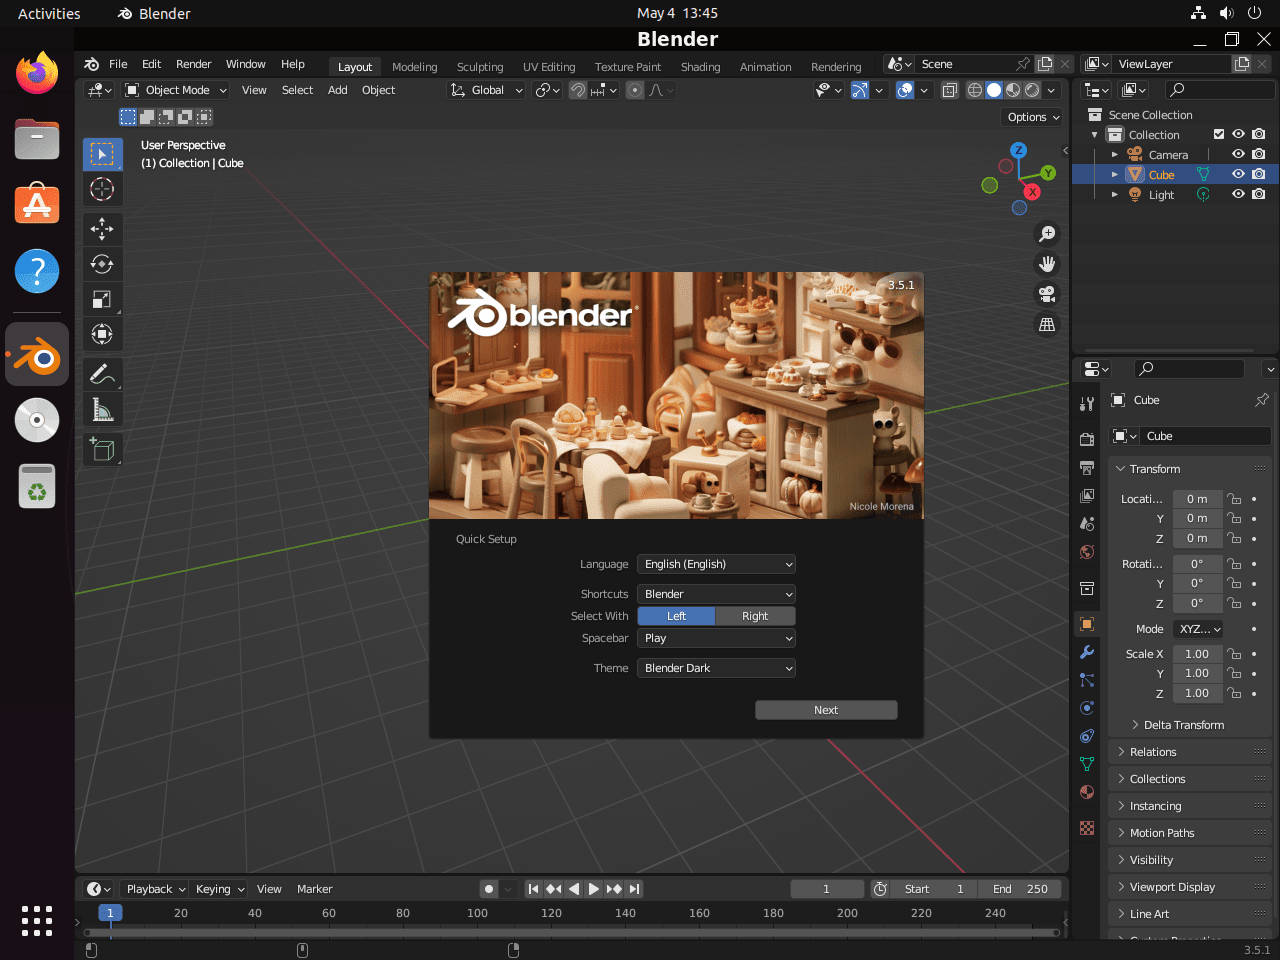
Launch Blender on Ubuntu
The launch command depends on how you installed Blender.
Launch Blender from Terminal
APT installations launch with:
blenderFlatpak installations use:
flatpak run org.blender.BlenderSnap installations use:
snap run blenderLaunch Blender from the Applications Menu
Open the Activities overview, click Show Applications, and search for Blender.
Update or Remove Blender on Ubuntu
Update Blender
The update command depends on the installation method you used.
Update via APT
A full system upgrade picks up any newer Blender packages from the Ubuntu repository:
sudo apt update && sudo apt upgradeUpdate via Flatpak
Update all Flatpak applications, including Blender:
sudo flatpak updateUpdate via Snap
Snap refreshes automatically, but you can force an immediate update:
sudo snap refresh blenderRemove Blender
Uninstall Blender using the command that matches your installation method.
Remove APT Installation
Remove Blender and clean up its unused dependencies:
sudo apt remove blender && sudo apt autoremoveThis removes the application but preserves user configuration. To also delete your Blender settings:
This deletes all saved preferences, startup files, and custom add-on data. Back up
~/.config/blenderfirst if you might need them.
rm -rf ~/.config/blenderRemove Flatpak Installation
Flatpak stores application data separately. Use the --delete-data flag to remove Blender and all sandboxed data at once:
This permanently deletes all Blender data stored in
~/.var/app/org.blender.Blender/. Back up projects or custom settings before proceeding.
sudo flatpak uninstall --delete-data org.blender.BlenderRemove Snap Installation
Remove the Snap package along with its bundled application data:
sudo snap remove blenderSnap retains a data snapshot for potential restoration by default. To remove Blender and all snapshots, add --purge:
sudo snap remove --purge blenderTroubleshoot Blender Issues on Ubuntu
Blender Does Not Detect the GPU
If Blender cannot find your GPU for Cycles rendering, confirm the proprietary NVIDIA driver is active:
nvidia-smiIf the command returns “command not found” or an error, the NVIDIA driver is missing. Follow the NVIDIA driver installation guide for Ubuntu to set it up. For Intel or AMD GPUs, make sure your Mesa drivers on Ubuntu are up to date.
Blender Shows OpenGL Errors on Launch
OpenGL errors usually mean outdated graphics drivers. Update your system and restart to load any newly installed driver modules:
sudo apt update && sudo apt upgrade -y && sudo rebootFlatpak Blender Cannot Access Project Folders
Flatpak’s sandbox limits filesystem access by default. Grant Blender permission to a specific directory:
flatpak override --user org.blender.Blender --filesystem=/path/to/your/folderReplace /path/to/your/folder with the actual directory path you need Blender to access.
Useful Blender Resources
- Blender Official Website – downloads, release notes, and project news.
- Blender Manual – official documentation covering all features and workflows.
- Blender Community – forums, chat, and events.
Frequently Asked Questions
The APT version depends on your release: Ubuntu 26.04 ships Blender 4.3.x, Ubuntu 24.04 ships 4.0.x, and Ubuntu 22.04 ships 3.0.x. For the latest upstream release, install Blender through Flatpak or Snap instead.
Blender needs direct access to GPU drivers, OpenGL/Vulkan libraries, and your project files on disk. Classic confinement removes the sandbox restrictions that would prevent Blender from reaching those system resources.
Yes. Flatpak Blender includes the required Mesa and OpenGL runtime extensions. NVIDIA users need the matching org.freedesktop.Platform.GL.nvidia Flatpak extension, which Flatpak usually installs automatically when it detects an NVIDIA driver on the host.
Conclusion
Blender is running on Ubuntu and ready for 3D modeling, animation, rendering, and video editing. If Cycles rendering does not detect your GPU, check that your NVIDIA drivers on Ubuntu or Mesa drivers on Ubuntu are current. For post-production work, FFmpeg on Ubuntu handles format conversions and encoding that Blender’s output may need.

Formatting tips for your comment
You can use basic HTML to format your comment. Useful tags currently allowed:
<code>command</code>command<strong>bold</strong><em>italic</em><blockquote>quote</blockquote>