

Avidemux is a versatile video editing software, ideal for both novices and seasoned editors. This guide focuses on how to install Avidemux on Linux Mint 21 or 20, ensuring a smooth and hassle-free setup process. Avidemux stands out for its user-friendly interface and wide range of features, making it a go-to choice for video editing enthusiasts.
Key Features of Avidemux:
- Format Flexibility: Supports numerous video formats, including AVI, DVD-compatible MPEG files, MP4, and ASF, using a variety of codecs.
- Editing Tools: Offers essential cutting, filtering, and encoding tools.
- Customizable Filters: Enhances videos with adjustable filters for noise reduction, sharpening, and color correction.
- Scripting Capabilities: Automates tasks using its built-in scripting capabilities.
- Subtitle Processing: Integrates subtitle processing features for various formats.
- Project Saving: Enables saving of projects with all settings, facilitating straightforward continuation of work.
Following these features, we’ll delve into the practical steps of installing Avidemux on your Linux Mint system. The straightforward process ensures you can quickly edit and enhance your video projects.
Install Avidemux on Linux Mint 21 or 20 via PPA
Step 1: Update Linux Mint Before Avidemux Installation
Begin by updating your system’s package list and upgrading any existing packages. This ensures your system is current and ready for the new installation:
sudo apt update && sudo apt upgradeStep 2: Import Xtradeb/apps PPA on Linux Mint for Avidemux Installation
Next, add the xtradeb/apps PPA to your system. This repository hosts the latest Avidemux builds:
sudo add-apt-repository ppa:xtradeb/apps -yStep 3: Create APT Pinning for Avidemux
The xtradeb PPA includes various applications. To prioritize Avidemux for installation, set up APT Pinning. This ensures only Avidemux (or any specified packages) from this PPA are considered during installation or upgrade:
echo "Package: avidemux*" | sudo tee /etc/apt/preferences.d/avidemux.pref
echo "Pin: release o=LP-PPA-xtradeb/apps" | sudo tee -a /etc/apt/preferences.d/avidemux.pref
echo "Pin-Priority: 700" | sudo tee -a /etc/apt/preferences.d/avidemux.pref
If you wish to include other applications from this PPA in the future, you can modify this file accordingly.
Step 4: Refresh APT Package Index
With the PPA added, refresh your package list. This action updates your system’s knowledge of available packages, including those in the newly added PPA:
sudo apt updateStep 5: Install Avidemux via APT Command
Finally, install Avidemux using the following command. This command installs both the graphical interface (Qt) and the command-line interface (CLI) of Avidemux:
sudo apt install avidemux-qt avidemux-cliFor a secondary installation method, the next section will cover how to install Avidemux with Flatpak and Flathub on Linux Mint.
Install Avidemux on Linux Mint 21 or 20 via Flatpak and Flathub
Step 1: Activate Flathub for Flatpak for AvideMux Installation
On Linux Mint, Flatpak serves as the secondary utility for installing and managing software applications shipped by default. To install Avidemux using Flatpak, it’s essential to enable the Flathub repository first. Flathub is a significant repository for Flatpak applications, offering various software choices.
Execute the following command in the terminal to add Flathub as a remote source for Flatpak:
flatpak remote-add --if-not-exists flathub https://flathub.org/repo/flathub.flatpakrepoThis command ensures that it will be added if Flathub is not already configured as a source. This step will be added as crucial for accessing the software available repository, including Avidemux.
Step 2: Install Avidemux via Flatpak Command
After enabling Flathub, proceed to install Avidemux on your Linux Mint system. Use the following command to initiate the installation process:
flatpak install -y flathub org.avidemux.AvidemuxThis command instructs Flatpak to download and install Avidemux and all necessary dependencies from the Flathub repository.
Launch Avidemux on Linux Mint 21 or 20
Opening Avidemux via Terminal
After successfully installing Avidemux on Linux Mint, you can launch it using the command-line interface (CLI), a direct and efficient method. For a standard installation, input the following command in the terminal:
avidemuxThis command triggers the opening of Avidemux, allowing you to start editing videos immediately.
If you have installed Avidemux via Flatpak, the command differs slightly. Use this command to launch the application:
flatpak run org.avidemux.AvidemuxThis command specifically calls the Flatpak version of Avidemux, ensuring the correct version of the application and its dependencies are executed.
Launching Avidemux from the Desktop
For users who prefer a graphical approach rather than command-line operations, Avidemux can be easily accessed through the Linux Mint desktop environment. This method is particularly user-friendly and suits those less familiar with terminal commands.
To launch Avidemux via the desktop, navigate through the following path:
Taskbar > Sound & Video > Avidemux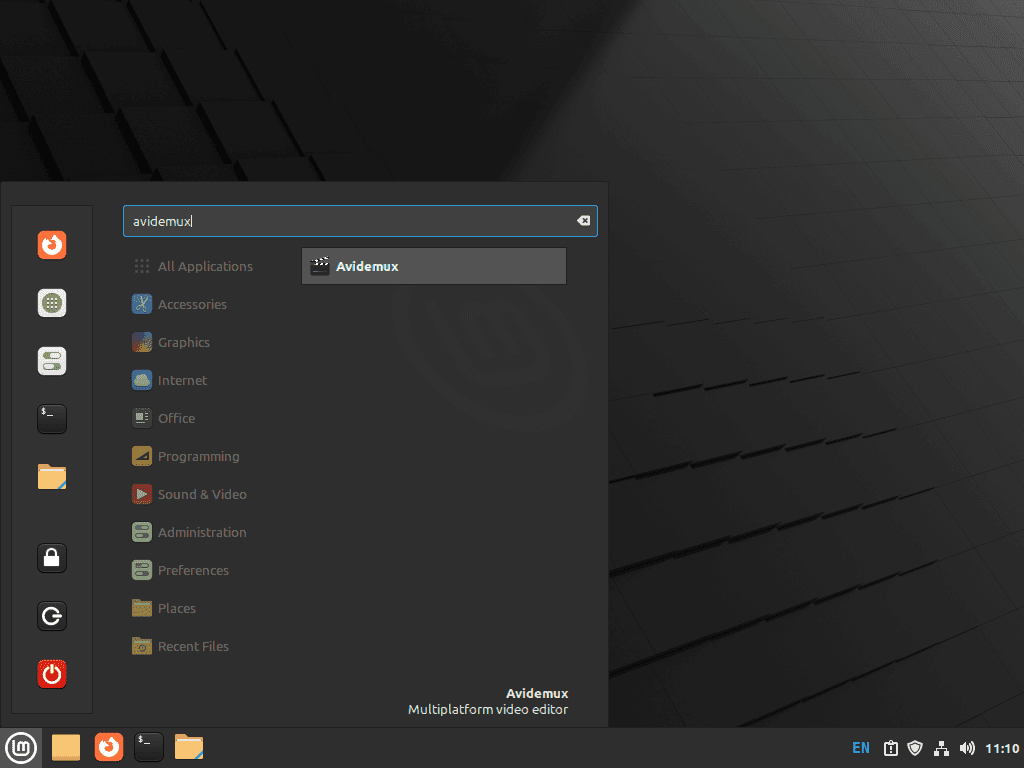
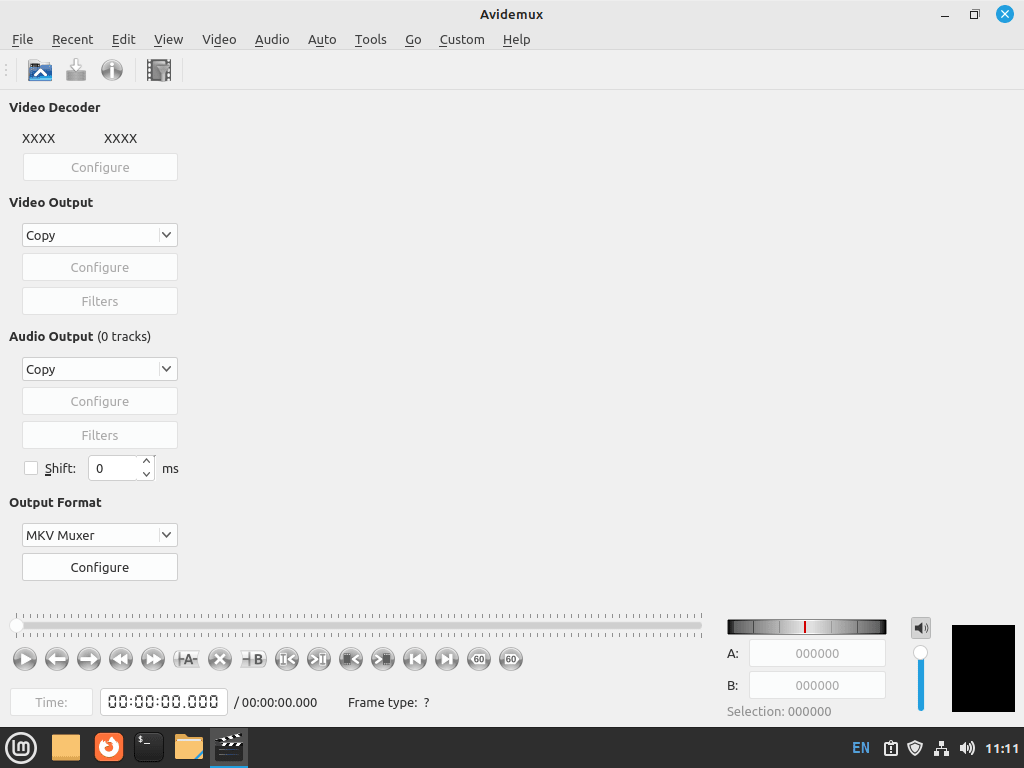
Getting Started with Avidemux on Linux Mint 21 or 20
Once you have successfully launched Avidemux on your Linux Mint system, it’s time to explore its features and make the most of this powerful video editing tool. Here are some tips to help you get started, improve your workflow, and customize the application to your preferences:
General Avidemux Tips on Linux Mint
- Familiarize yourself with the interface: Take some time to explore the Avidemux interface and understand the different panels and options available. This will make the editing process smoother and more efficient.
- Use keyboard shortcuts: Utilize keyboard shortcuts to speed up your editing workflow. Some common shortcuts include
Ctrl + Xfor cutting,Ctrl + Cfor copying, andCtrl + Vfor pasting. - Save your project frequently: As with any editing software, saving your work frequently is essential to avoid losing progress. Use the “Save Project” option under the “File” menu to save your project as an Avidemux project file (
.adm).
Avidemux Customization Tips on Linux Mint
- Adjust preferences: Tailor Avidemux to your needs by accessing the “Preferences” option under the “Edit” menu. Here, you can customize various settings, such as the interface language, display options, and default directories.
- Choose your video output format: Avidemux supports several video output formats. Select the appropriate format for your needs from the “Video Output” dropdown menu on the main interface.
- Experiment with filters: Enhance your video by applying various filters available in Avidemux. Access the “Filters” option under the “Video” menu to browse and apply different filters, such as resizing, cropping, or adjusting color settings.
Workflow Tips for Avidemux on Linux Mint
- Use the zoom feature: When working with detailed video editing tasks, use the zoom feature in the video preview window to examine your footage more closely.
- Trim and cut your video: To remove unwanted parts of your video, use the “A” and “B” markers in the timeline to set the start and end points of the segment you want to keep. Then, use the “Cut” option under the “Edit” menu to remove the unwanted parts.
- Add multiple video tracks: If you need to work with more than one video track, use the “Append” option under the “File” menu to add additional video files to your project.
Managing Avidemux on Linux Mint 21 or 20
Update Avidemux on Linux Mint
Users who installed Avidemux using the APT package manager will typically find that the software updates automatically with system packages. However, to manually check for updates, the following command can be used in the terminal:
sudo apt update && sudo apt upgradeThis command first updates the list of available packages and then upgrades the existing packages, including Avidemux, if updates are available.
If Avidemux was installed via Flatpak, updating requires a different command:
flatpak update org.avidemux.Avidemux

or just

flatpak update
This command specifically targets the Avidemux application installed through Flatpak, ensuring it is up to date with the latest version available in the Flathub repository.
Remove (Uninstall) Avidemux From Linux Mint
To uninstall Avidemux along with its associated data and unused dependencies, execute the following command:
sudo apt remove avidemux*This command completely removes Avidemux and all its related components from your system.
Removing the Repository
If you wish to remove the repository, use this command:
sudo add-apt-repository --remove ppa:xtradeb/apps -yCaution is advised here. Only remove this repository if no other applications installed from it are in use. If the repository is removed accidentally, you can re-add it by following the initial installation steps.
Uninstalling Avidemux via Flatpak
For users who installed Avidemux through Flatpak, the uninstallation process is different. Use the following command:
flatpak uninstall org.avidemux.AvidemuxThis command specifically targets and removes the Flatpak version of Avidemux from your system.
Conclusion: Installing Avidemux on Linux Mint
To wrap up, this guide walked you through the seamless installation of Avidemux on Linux Mint, offering two efficient methods: PPA and Flatpak with Flathub. Whether you prefer the streamlined integration of APT’s package management or the isolated, easy-to-manage approach of Flatpak, there’s a solution that fits your style. Beyond installation, we’ve also covered how to update and uninstall Avidemux, ensuring you’re equipped to keep the software up-to-date or remove it if needed. With these tips and tricks in hand, you’re all set to make the most out of Avidemux on your Linux Mint system.