The Apache Software Foundation hosts Apache Maven, a prominent build automation tool primarily for Java projects. However, it also supports languages like C#, Ruby, and Scala. If you plan to install Apache Maven on Ubuntu 22.04 Jammy Jellyfish or the older stable release of Ubuntu 20.04 Focal Fossa, understanding its core features and benefits is crucial.
Key Advantages of Apache Maven:
- Convention Over Configuration: Maven’s standardized approach reduces the need for extensive build scripts, allowing developers to focus on core development.
- Efficient Dependency Management: Maven automatically retrieves Java libraries and plugins from repositories, ensuring streamlined management of project dependencies.
- Plugin-Based Architecture: Maven’s design allows integration with any application controllable through standard input, offering enhanced flexibility.
- Reproducible Builds: Maven ensures consistent and reliable builds across different environments.
- Multi-Language Support: Beyond Java, Maven supports projects in C#, Ruby, Scala, and more.
Comparing with Alternatives:
Maven offers comprehensive features, but Gradle and SBT also present valuable merits. Gradle features a dynamic build system, while developers tailor SBT specifically for Scala projects. Although Apache Ivy primarily serves as a dependency manager, it doesn’t match Maven’s extensive project management features.
With its structured methodology, efficient dependency management, and versatile architecture, Apache Maven stands out as a top choice for Ubuntu users. The subsequent guide will outline the steps to install Apache Maven on Ubuntu using CLI commands.
Install Apache Maven on Ubuntu 22.04 or 20.04 via APT
This section will walk you through installing Apache Maven using the Advanced Packaging Tool (APT) on Ubuntu. This method is straightforward and convenient, as Ubuntu includes Apache Maven in its default repository. However, it’s worth noting that the version in the repository may not always be the latest. If you require the most recent version of Maven, you may want to consider a manual via downloading the source archive for your installation method.
Step 1: Update the Ubuntu System Before the Apache Maven Installation
Before we dive into the installation process, ensuring that your Ubuntu system is up-to-date is crucial. This step helps avoid potential conflicts and ensures you have the latest security patches and system improvements. To update your system, you’ll need to execute the following command in your terminal:
sudo apt update && sudo apt upgradeThis command does two things. sudo apt update updates the package lists for upgrades for packages that need upgrading, as well as new packages that have just come to the repositories.
Step 2: Install Apache Maven on Ubuntu 22.04 or 20.04 via APT Command
With your system updated, you’re now ready to install Apache Maven. As mentioned, Ubuntu includes Apache Maven in its default repository, simplifying the installation process. To install Apache Maven, execute the following command:
sudo apt install mavenThis command tells APT to install the maven package. The sudo prefix ensures the command is run with superuser privileges necessary for system-wide installations.
Step 3: Verify Apache Maven Installation on Ubuntu via APT
After installing, verify that you installed Apache Maven correctly and check its version. This step ensures a smooth installation process and confirms you have the appropriate Maven version. To verify the installation and determine the version, use the following command:
mvn -versionThis command asks Maven to display its version number, which should output information about the installed version of Maven.
Install Apache Maven on Ubuntu 22.04 or 20.04 via source
In this section, we’ll guide you through manually installing the latest version of Apache Maven. This method is particularly beneficial for those needing Maven’s most recent features or prefer to have more control over the installation process.
Step 1: Install Default Java Development Kit (JDK)
First, to install Apache Maven on Ubuntu 22.04 or 20.04 via the source archive, ensure you have Java installed on your Ubuntu system. Apache Maven needs Java to function. Install the default JDK on Ubuntu with this command:
sudo apt install default-jdk -yThis command instructs APT to install the default-jdk package. The -y flag automatically confirms the installation, saving you from having to manually approve it.
Step 2: Download Apache Maven Archive on Ubuntu
With Java installed, we can now download the Apache Maven archive. We’ll use the wget command for this, a utility for non-interactive download of files from the web.
To find the latest version of Apache Maven, you can visit the Apache Maven download page. For the purpose of this guide, let’s assume that the latest version is 3.9.2. To download this version, use the following command:
wget https://dlcdn.apache.org/maven/maven-3/3.9.2/binaries/apache-maven-3.9.2-bin.tar.gzThe above command is an example, ensure you get the latest version link, as copying the above will get you an outdated version.
Step 3: Extract Apache Maven Archive on Ubuntu
After downloading the Apache Maven archive, we need to extract it. We’ll extract the archive to the /opt/ directory, which is a standard directory for storing optional or add-on software. To extract the archive, use the following command:
sudo tar xzf apache-maven-3.9.2-bin.tar.gz -C /opt/This command uses the tar utility to extract the archive. The -xzf flags tell tar to extract (-x) the gzipped (-z) file, and the -C flag specifies the target directory for the extraction.
cd /opt/Step 4: Create Symbolic Link to the Apache Maven Directory
After extracting the archive, we’ll create a symbolic link to the Apache Maven directory. This step is optional but recommended, allowing you to refer to the directory more conveniently. To create a symbolic link, use the following command:
sudo ln -s apache-maven-3.9.2 mavenThis command creates a symbolic link named maven that points to the apache-maven-3.9.2 directory.
Step 5: Setting Up the Apache Maven Environment on Ubuntu
Next, we must set up the Apache Maven environment by defining some environment variables. We’ll create a new script file in the /etc/profile.d/ directory, a standard directory for adding scripts that set environment variables. To create the script file, use the following command:
sudo nano /etc/profile.d/maven.shThis command opens a new file named maven.sh in the nano text editor. In this file, add the following lines:
export M2_HOME=/opt/maven
export PATH=${M2_HOME}/bin:${PATH}
These lines define two environment variables: M2_HOME, which points to the Apache Maven directory, and PATH, which includes the path to the Apache Maven binaries. To save the file and exit the editor, press CTRL+O and then CTRL+X.
Alternatively, we can use the echo command and the sudo tee command to achieve this. The echo command will generate the necessary lines and sudo tee will write these lines to the file. Here’s how you can do it:
echo -e "export M2_HOME=/opt/maven\nexport PATH=\${M2_HOME}/bin:\${PATH}" | sudo tee /etc/profile.d/maven.shThis command does the following:
- The
echo -ecommand enables interpretation of backslash escapes and generates the lines to be added to the file. - The
|(pipe) takes the output of the command on its left and uses it as the input for the command on its right. - The
sudo tee /etc/profile.d/maven.shcommand writes the input it receives from theechocommand to the file/etc/profile.d/maven.sh. Theteecommand is used in conjunction withsudoto write to files owned by the root user.
This command effectively creates the maven.sh file with the necessary environment variables without needing to open and edit the file manually.
Step 6: Enable the Apache Maven Environment on Ubuntu
With the environment variables defined, we need to enable them. We’ll do this by sourcing the script file we just created. Sourcing a script file means executing the file in the current shell, which allows the environment variables to be available in your current session. To source the script file, use the following command:
source /etc/profile.d/maven.shThis command reads and executes the maven.sh file in the current shell. The source command is a shell built-in command that reads and executes commands from the file specified as its argument in the current shell environment.
Step 7: Verifying Apache Maven Installation
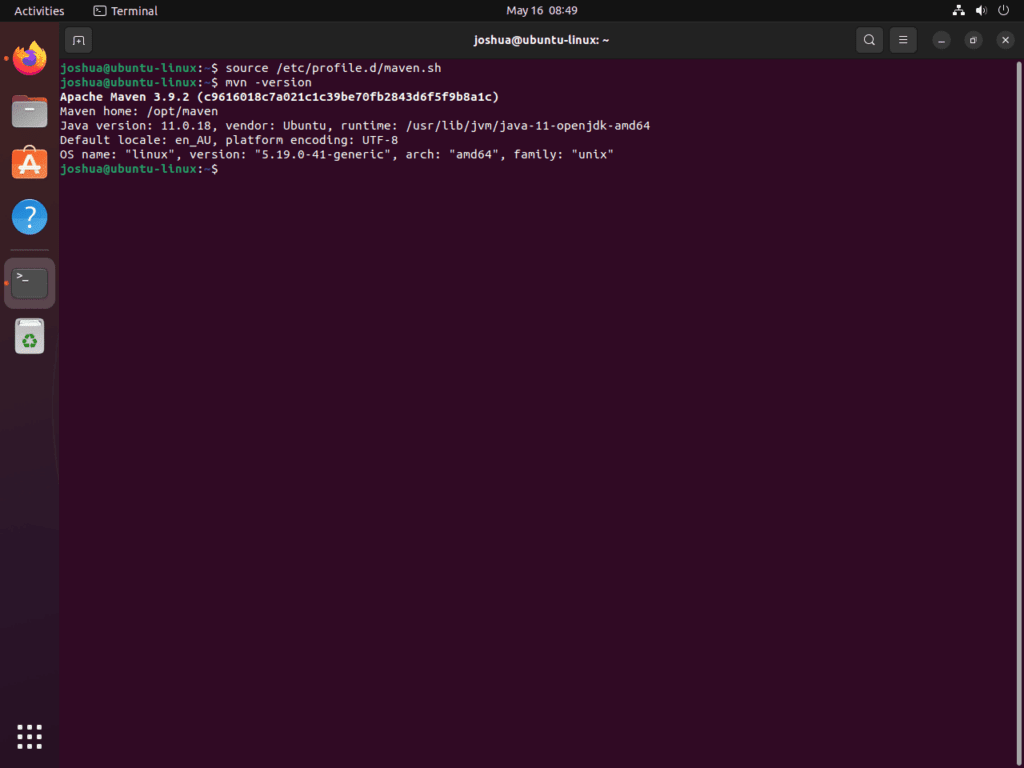
After setting up the Apache Maven environment, verifying the correct setup is good practice. As before, check the installed version of Apache Maven to confirm the installation. Use the following command:
mvn -versionThe command will display information regarding the installed Apache Maven version. The version number should correspond with the version you downloaded if you configured everything properly.
Create and Test a Maven Project on Ubuntu 22.04 or 20.04
This section guides you in creating a simple Maven project and running a basic test. This ensures Maven functions correctly on your Ubuntu system.
Step 1: Create a New Maven Project on Ubuntu
The first step in creating a Maven project is generating a new structure. Maven provides a command for this purpose, which creates a new directory structure with a default pom.xml file (Project Object Model file), the fundamental unit of work in Maven.
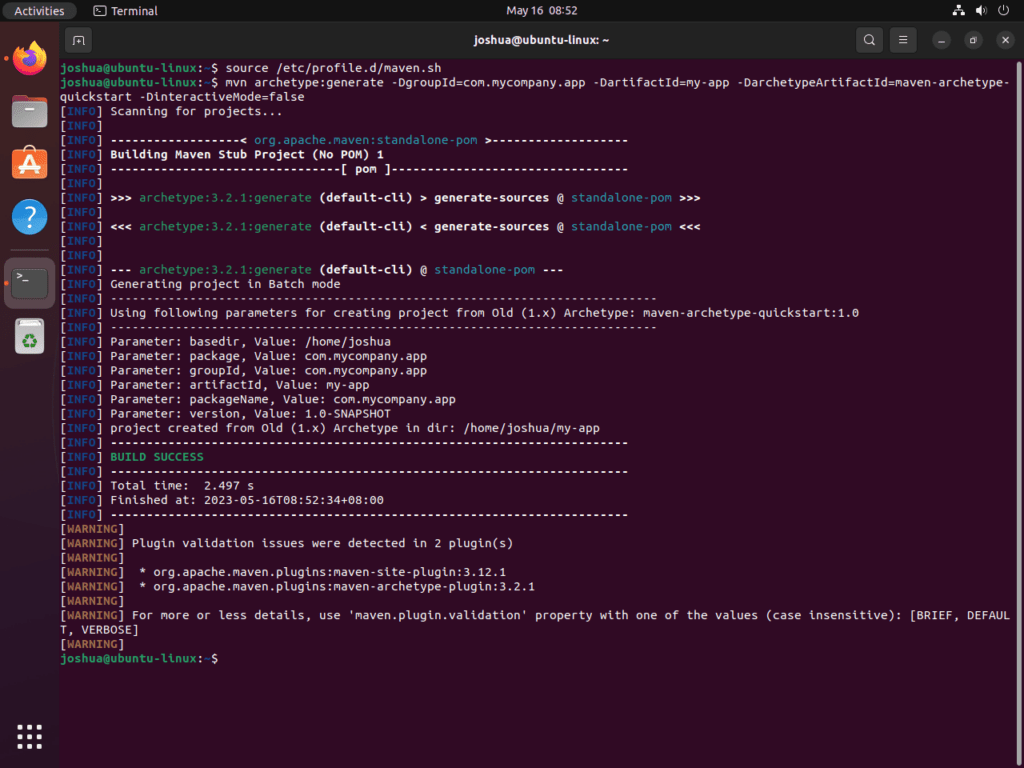
To create a new Maven project, navigate to the directory where you want to create the project and run the following command:
mvn archetype:generate -DgroupId=com.mycompany.app -DartifactId=my-app -DarchetypeArtifactId=maven-archetype-quickstart -DinteractiveMode=falseThis command tells Maven to generate a new project from an archetype. An archetype is a template of a project, which in this case is maven-archetype-quickstart, a basic Java project. The groupId and artifactId parameters are used to uniquely identify your project across all projects.
Step 2: Navigate to the Maven Project Directory on Ubuntu
After creating the project, navigate to the project directory using the following command:
cd my-appThis command changes the current directory to the my-app directory, which is the root directory of the project you just created.
Step 3: Building the Maven Project on Ubuntu
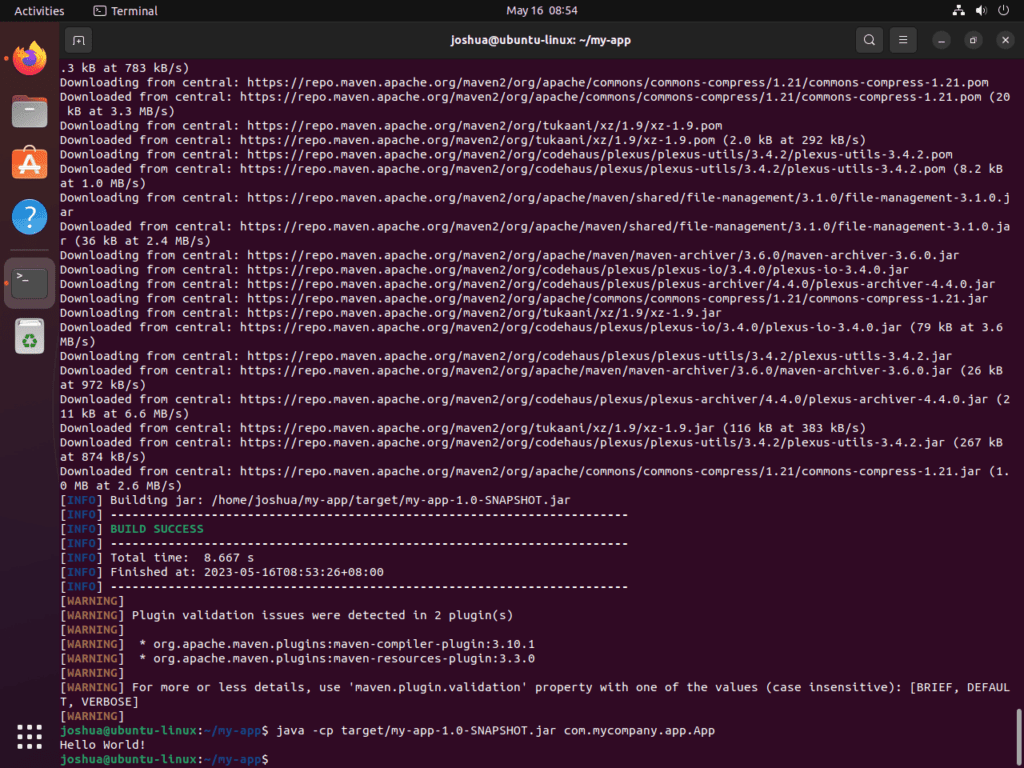
With the project created and the project directory set, you can now build the project. Building the project compiles the source code and packages it into a distributable format, such as a JAR file. To build the project, use the following command:
mvn packageThis command tells Maven to execute the package phase of the build lifecycle. The package phase compiles the source code, runs any tests, and packages the compiled code into its distributable format.
Step 4: Run the Maven Project on Ubuntu
Finally, after building the project, you can run it to verify everything is working as expected. To run the project, use the following command:
java -cp target/my-app-1.0-SNAPSHOT.jar com.mycompany.app.AppThis command runs the Java application contained in the JAR file produced by the mvn package command. The -cp flag specifies the classpath, and the argument to the java command is the main class of the application.
With the correct setup, this command will output “Hello World!” This indicates that your Maven project is functioning as expected.
Closing Thoughts
In this guide, we cover Apache Maven’s installation on Ubuntu using the easy APT method and the detailed manual installation. We also show you how to create and test a simple Maven project to verify your Maven setup. You can install Apache Maven on Ubuntu from the default repositories or manually to access the latest version. While the APT method offers simplicity and speed, the manual method provides more control and introduces the newest Maven features. Developers need to understand their tools. Apache Maven stands out with its convention-over-configuration approach, effective dependency management, and plugin-based architecture, making it a valuable tool for every developer.


