
For Pop!_OS enthusiasts looking to delve into Android application development, this guide on “How to Install Android Studio on Pop!_OS” is your comprehensive roadmap. Android Studio, Google’s official IDE for Android development, is renowned for its suite of features that streamline and enhance the app creation journey.
Here are some of Android Studio’s standout features:
- Code Editor: Beyond supporting languages like Java, Kotlin, and C++, its editor boasts smart completion and real-time error detection, optimizing the coding process.
- Layout Editor: Crafting user interfaces becomes intuitive with a drag-and-drop mechanism for UI elements.
- APK Analyzer: A tool designed to refine the application package size, ensuring efficient memory utilization.
- Emulator: Test applications across a spectrum of devices and Android API levels, eliminating the dependency on physical devices.
- Build System: Its Gradle-based system automates dependency management, letting developers zero in on their primary development tasks.
In the ensuing guide, we’ll unravel the steps to integrate Android Studio into Pop!_OS. We’ll explore two distinct installation avenues: one leveraging a trusted third-party PPA for the freshest builds and the other detailing the Flatpak route via the Flathub repository, catering to the Flatpak aficionados.
Section 1: Install of Android Studio via PPA on Pop!_OS
Step 1: Incorporate Android Studio PPA
The initial phase in the Android Studio installation process involves ensuring that your Pop!_OS system packages are current. To achieve this, access the terminal and input the following command. This will both update your package list and install any updates that might be available:
sudo apt update && sudo apt upgradeFollowing the successful update of your system packages, incorporate the Android Studio PPA. This is accomplished by entering the ensuing command:
sudo add-apt-repository ppa:maarten-fonville/android-studio -yThis action incorporates the PPA into your system. Note that this specific PPA is compatible only with short-term releases of Pop!_OS that receive continued support.
Step 2: Install Android Studio
Having incorporated the Android Studio PPA, executing an “apt update” command is crucial. This operation ensures that your system reflects the newly incorporated PPA. Input the subsequent command to conduct this operation:
sudo apt updateUpon completion of the update, the next phase involves installing Android Studio. Initiate this process by inputting the subsequent command:
sudo apt install android-studioThis action triggers installing the most recent version of Android Studio on your system.
The following section offers an alternative installation method. It elucidates the process of installing Android Studio via Flatpak and Flathub. This is intended for those Pop!_OS users who prefer installing their applications as Flatpaks.
Section 2: Install of Android Studio via Flatpak and Flathub on Pop!_OS
Step 1: Activate Flathub Repository via Flatpak
The first move in installing Android Studio using Flatpak and Flathub is enabling the Flathub repository. The Flathub repository is a depository for software packages built and distributed using Flatpak technology. Flatpak is a universal packaging format for Linux that makes application distribution, installation, and execution more manageable and secure:
flatpak remote-add --if-not-exists flathub https://flathub.org/repo/flathub.flatpakrepoBy enabling the Flathub repository, you are granting your system access to a wide selection of applications ready to be installed and run on your Pop!_OS system, such as Android Studio.
Step 2: Installation of Android Studio through Flathub
With the Flathub repository now active, you can install Android Studio. The execution of the following command initiates the installation process of Android Studio:
flatpak install flathub com.google.AndroidStudioUpon entering the command, your system downloads and installs Android Studio from the Flathub repository. This command is designed to fetch the official Android Studio software package from the Flathub repository, ensuring that you install a legitimate and up-to-date application version on your Pop!_OS system.
Section 3: Starting Android Studio on Pop!_OS
This section will guide you on launching Android Studio on your Pop!_OS system using Command Line Interface (CLI) and Graphical User Interface (GUI).
Method 1: Using CLI
CLI is a powerful tool for system operations. To launch Android Studio via CLI, you can use the following command:
android-studioFlatpak Android Studio installations need to run the alternative command:
flatpak run com.google.AndroidStudioMethod 2: Using GUI
Pop!_OS has a user-friendly interface for those who prefer visual interactions, allowing launching applications quickly. Here’s how you can start Android Studio:
- Locate the “Show Applications” button. This button is typically found at the bottom of your screen’s taskbar.
- Click the “Show Applications” button. This action will reveal all the applications installed on your system.
- In the search bar that appears, type “Android Studio.” As you type, the system will suggest matching applications.
- Click on the “Android Studio” icon when it appears. This will launch the application.
Section 4: First-time Use Tips for Getting Started with Android Studio on Pop!_OS
Familiarize Yourself with the Interface
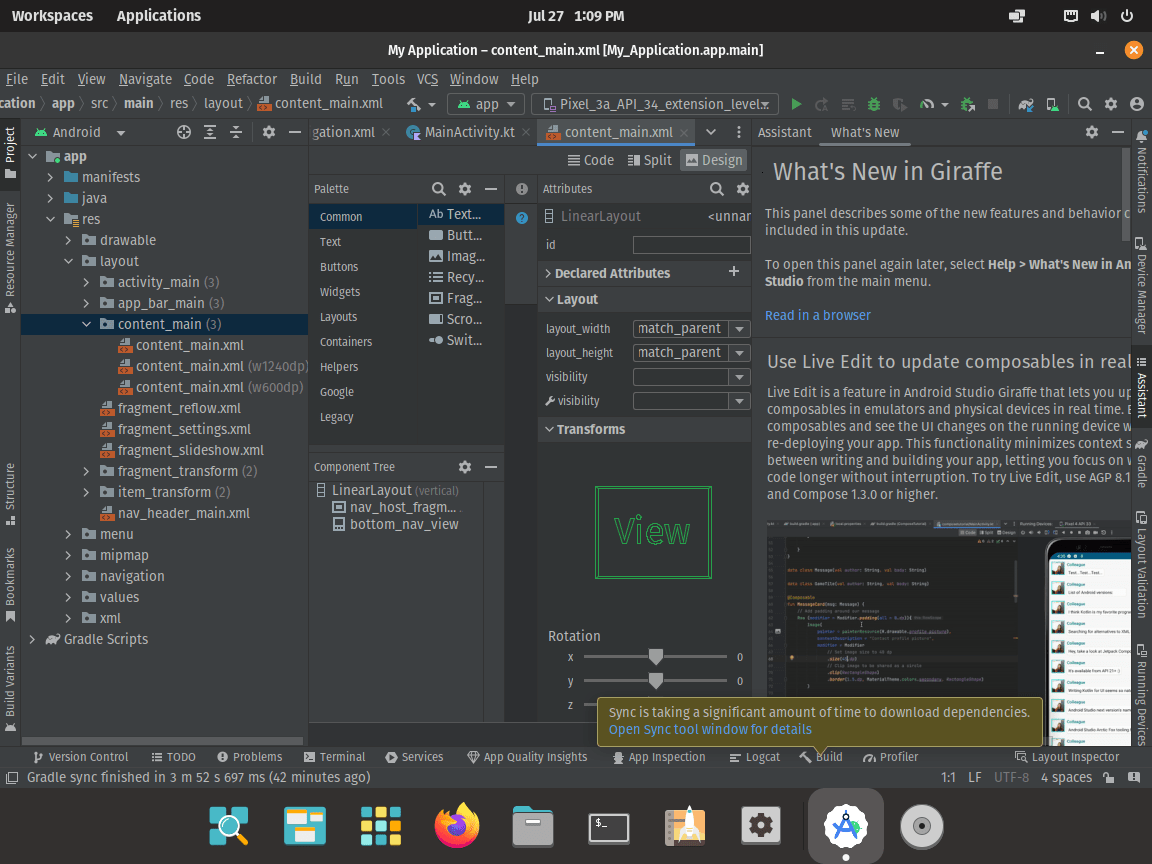
Starting off, it’s crucial to familiarize yourself with the Android Studio interface. The Android Studio IDE has a unique interface that might feel different if you come from other Integrated Development Environments (IDEs). It includes a project window on the left, an editor window in the center, and a variety of tool windows that offer additional functionality.
Set Your Preferred SDK
Once you get comfortable with the interface, the next important step is to configure your Software Development Kit (SDK). Android Studio includes a default SDK, but if you have a preferred version, you can configure it by going to File > Project Structure > SDK Location.
Make Use of the AVD Manager
The Android Virtual Device (AVD) Manager is an essential tool in Android Studio that allows you to test your applications on a virtual device. Getting acquainted with the AVD Manager and how to set up a virtual device early on in your Android development journey is ideal.
Regularly Check for Updates
Android Studio gets regular updates, which include new features, performance enhancements, and security patches. It’s crucial to keep your Android Studio updated to get the best performance and to ensure your apps are compatible with the latest Android versions. You can check for updates by going to Help > Check for Updates.
Use Keyboard Shortcuts
Your coding efficiency can significantly improve by learning and utilizing keyboard shortcuts. Android Studio provides a wide range of keyboard shortcuts to help you navigate the IDE, write code, and perform various tasks faster.
Remember, as you progress with Android Studio, continually exploring its features will make your development process smoother. It’s a robust IDE with many tools and functionalities ready to assist you in creating fantastic Android applications on your Pop!_OS Linux.
Section 5: Managing Android Studio on Pop!_OS
Updating Android Studio on Pop!_OS
Keeping your Android Studio application up-to-date is critical to maintaining a productive and secure development environment. The update process may differ depending on your method of installation.
If you installed Android Studio via apt, you’d typically perform an update by executing the following commands in your terminal:
sudo apt update
sudo apt upgrade
These commands will update the package list on your Pop!_OS system and upgrade all the installed packages, including Android Studio, to their latest versions.
For installations done via Flatpak, the process is different. You’d need to execute the following command in your terminal to update Android Studio:
flatpak update com.google.AndroidStudioThis command targets explicitly and updates the Android Studio application installed via Flatpak.
Uninstalling Android Studio on Pop!_OS
There might be instances when you need to remove Android Studio from your Pop!_OS system. Similar to the update process, uninstallation will depend on your installation method.
If you installed Android Studio via apt, execute the following command in your terminal to remove Android Studio:
sudo apt remove android-studioAdditionally, to remove the PPA repository that you added for the installation of Android Studio, use the add-apt-repository command with the -r flag, followed by the PPA name:
sudo add-apt-repository -r ppa:android-studio/ppaOn the other hand, if you installed Android Studio via Flatpak, you’d remove it by executing the following command:
flatpak uninstall com.google.AndroidStudioThis command will uninstall the Android Studio application installed via Flatpak.
Conclusion on installing Android Studio on Pop!_OS
This article delved into installing and managing Android Studio on Pop!_OS, a Linux-based operating system. We covered different installation methods—via apt package management and Flatpak, the launch procedures via CLI and GUI, initial usage tips, and the upkeep processes for Android Studio. We also walked through the uninstallation procedure for both installation methods, ensuring you have all the essential information at your fingertips.
Each step ensures a smooth, efficient, and productive development environment. Keep your Android Studio updated, and don’t hesitate to refer back to this guide as needed.