Changing the Nginx port starts with the listen directive inside each server block, not with a global service setting. To change Nginx port 80 to 8080, update every matching listen 80; and listen [::]:80; line, test the configuration with nginx -t, reload Nginx, then open the same port in the firewall, container publish rule, load balancer, or provider control plane that fronts the server.
Nginx normally serves HTTP on port 80 and HTTPS on port 443 when those listeners appear in the active configuration. The official Nginx listen directive defaults to *:80 when Nginx runs with superuser privileges, or *:8000 otherwise, but packaged default site files usually declare ports explicitly. In practice, that means editing the active listen 80; and listen [::]:80; lines shown by nginx -T, not hunting for a separate default port variable.
Nginx must already be installed and running before these steps apply. Use the distro-specific guides to Install Nginx on Ubuntu, Install Nginx on Debian, or Install Nginx on Fedora if you still need the package setup.
Find the Active Nginx Port Configuration
Before editing, confirm which server blocks own the current ports. The listen directive belongs in the server context, and a single Nginx host can have many server blocks. That is why a port change usually means editing more than one line: IPv4, IPv6, HTTP, HTTPS, and legacy redirect blocks may each have their own listener.
| Directive or setting | Context | Default or version note | Use when changing Nginx ports |
|---|---|---|---|
listen | server | Defaults to *:80 with superuser privileges, or *:8000 otherwise, when omitted. | Bind Nginx to a port, address, IPv6 address, or UNIX socket. |
listen ... default_server | server | Only one default server should own each address-plus-port pair. | Keep the same default role after moving a site from 80 to 8080. |
listen ... ssl | server | The ssl parameter enables TLS on that listener. | Move HTTPS from 443 to a custom port such as 8443. |
http2 on; | http, server | The Nginx http2 directive defaults to off. Current Nginx documentation marks the older listen ... http2 parameter as deprecated. | Enable HTTP/2 without the Nginx 1.25.1+ deprecation warning. |
listen ... quic | server | The quic parameter was added in Nginx 1.25.0 and requires an HTTP/3-capable build. | Add HTTP/3 over UDP on the same custom HTTPS port. |
Find Active Nginx Listen Ports
Check the Nginx version first so you know whether the current HTTP/2 syntax is available:
nginx -vnginx version: nginx/1.x.x
Then print the active configuration and filter the listener lines. Include the configuration-file markers so you can see which file owns each listener before you back it up or edit it:
sudo nginx -T 2>/dev/null | grep -nE '^# configuration file|listen[[:space:]]+'22:# configuration file /etc/nginx/sites-enabled/default: 42: listen 80 default_server; 43: listen [::]:80 default_server; 88: listen 443 ssl; 89: listen [::]:443 ssl;
If you maintain many include files, search the configuration tree as well. The grep command in Linux is useful here because it can search every included server block before you edit anything.
sudo grep -R -nE 'listen[[:space:]]+([^;[:space:]]*:)?(80|443)([[:space:];]|$)' /etc/nginxThis pattern finds plain and address-prefixed listeners such as listen 80;, listen 127.0.0.1:80;, and listen [::]:443 ssl; without matching custom ports such as 8080 or 8443.
Use a fixed port number. Nginx rejects listen 0; during syntax testing, so port 0 is not a portable way to ask the operating system for a random listener.
Separate Nginx Listen Ports from Port Mapping
Changing an Nginx listen port changes what the Nginx worker accepts locally. It does not automatically update Docker port publishing, Kubernetes ingress rules, a cloud security group, Nginx Proxy Manager, cPanel, Plesk, or a CDN tunnel. If another layer owns public port mapping, update that layer after the Nginx config test passes.
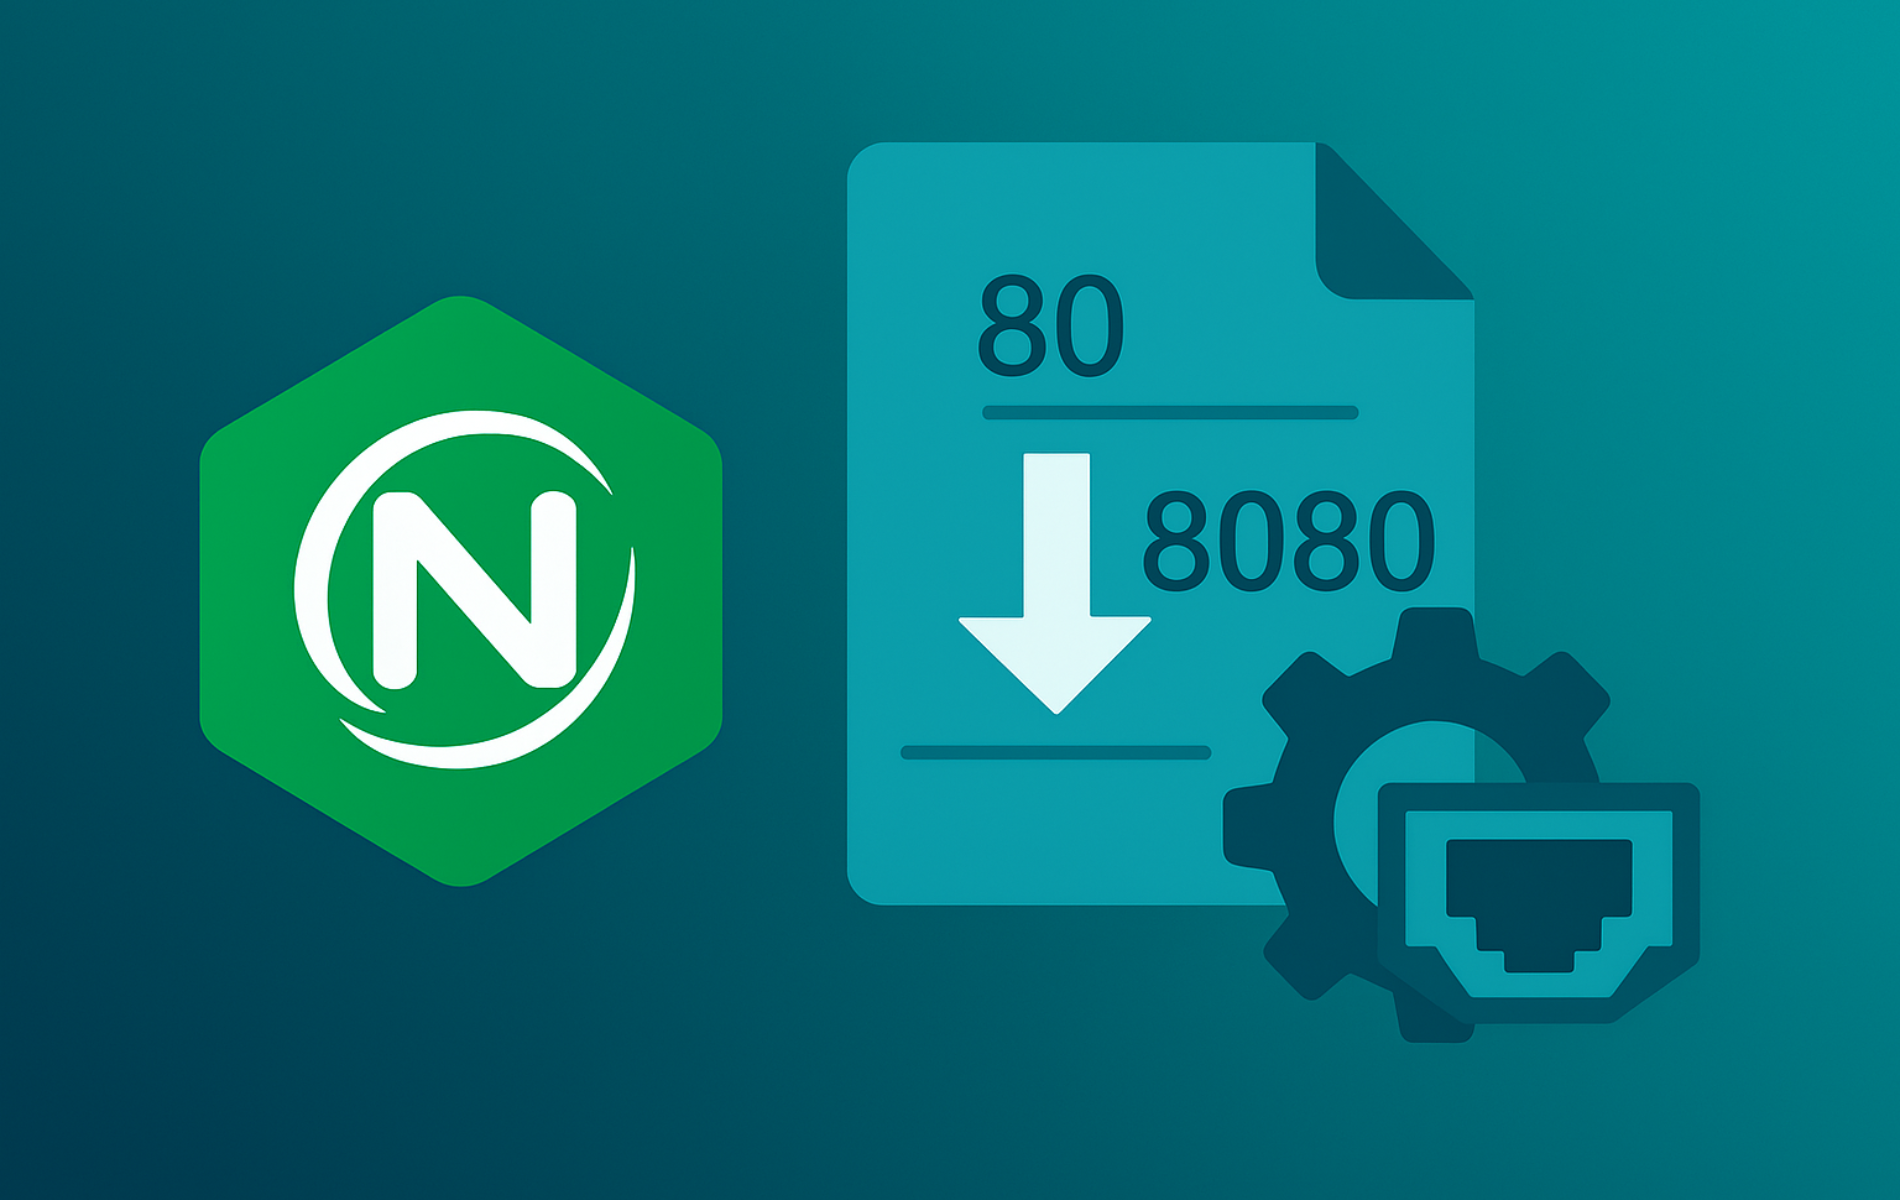
Change Nginx Port 80 to 8080
Back up the active file that owns the listener before changing it. Debian and Ubuntu packages commonly use /etc/nginx/sites-available/, while Fedora, RHEL-family packages, nginx.org packages, and containers commonly use /etc/nginx/conf.d/*.conf. Source builds and hosting panels can use another include path, so use the file path shown by sudo nginx -T.
For a Debian or Ubuntu-style site file, back up the site file:
sudo cp /etc/nginx/sites-available/default /etc/nginx/sites-available/default.bakIf nginx -T shows a conf.d file, back up that file instead, for example:
sudo cp /etc/nginx/conf.d/default.conf /etc/nginx/conf.d/default.conf.bakIf the listener is defined directly in /etc/nginx/nginx.conf, back up the main configuration file:
sudo cp /etc/nginx/nginx.conf /etc/nginx/nginx.conf.bakKeep an active console, SSH session, or provider recovery path open while changing production listeners. A bad port, missing firewall rule, or wrong default server can make the site unreachable until you restore the previous configuration.
Open the server block that currently owns port 80. Adjust the path to the file shown by your active configuration:
sudo nano /etc/nginx/sites-available/defaultIf nginx -T shows a conf.d file, open that file instead, for example:
sudo nano /etc/nginx/conf.d/default.confA typical packaged default server block uses explicit IPv4 and IPv6 listeners:
server {
    listen 80 default_server;
    listen [::]:80 default_server;
    server_name example.com;
    root /var/www/example;

    location / {
        try_files $uri $uri/ =404;
    }
}
Change both listeners to the new port. Keep default_server if this server block should remain the fallback for that address-plus-port pair:
server {
    listen 8080 default_server;
    listen [::]:8080 default_server;
    server_name example.com;
    root /var/www/example;

    location / {
        try_files $uri $uri/ =404;
    }
}
Repeat the same edit for every server block that must move away from port 80. If one block stays on port 80 only to redirect traffic, make that decision explicit instead of leaving an accidental legacy listener behind.
Redirect Nginx Port 80 to 8080
If old clients still reach port 80, keep a small redirect-only server block on port 80 and send requests to the new listener. This is a port-specific redirect; broader URL rewrite and canonical-domain rules belong in a dedicated Nginx URL redirect guide.
server {
    listen 80;
    listen [::]:80;
    server_name example.com;

    return 301 http://$host:8080$request_uri;
}

server {
    listen 8080;
    listen [::]:8080;
    server_name example.com;
    root /var/www/example;

    location / {
        try_files $uri $uri/ =404;
    }
}
The $host variable is hostname-only in this redirect pattern. If a request arrives with Host: example.com:80 or Host: example.com:8080, $host resolves to example.com; append the target port yourself, as shown with $host:8080. Avoid $http_host:8080 in redirects unless you have normalized it first, because $http_host can already include the incoming port.
Use this pattern only when port 80 should remain reachable. If the goal is to close port 80 entirely, remove the old listener and close the matching firewall or load balancer rule.
Configure HTTPS and HTTP/2 on Custom Nginx Ports
Moving HTTPS off port 443 works the same way, but the TLS parameters stay on the listener and the certificate paths stay inside the server block. Browsers and API clients must include the custom port in the URL, such as https://example.com:8443/.
server {
    listen 8443 ssl;
    listen [::]:8443 ssl;
    http2 on;

    server_name secure.example.com;

    ssl_certificate /etc/letsencrypt/live/secure.example.com/fullchain.pem;
    ssl_certificate_key /etc/letsencrypt/live/secure.example.com/privkey.pem;
    ssl_protocols TLSv1.3 TLSv1.2;

    root /var/www/secure;
}
Use http2 on; on Nginx versions that support the directive. If an older distribution package only supports listen 8443 ssl http2;, keep the older syntax until you upgrade Nginx, but expect a warning on Nginx 1.25.1 and newer mainline builds.
nginx: [warn] the "listen ... http2" directive is deprecated, use the "http2" directive instead
Redirecting custom HTTP to custom HTTPS uses the same return pattern, but the target URL must include the HTTPS port. The explicit :8443 matters because $host does not preserve the incoming port number.
server {
    listen 8080;
    listen [::]:8080;
    server_name portal.example.com;

    return 301 https://$host:8443$request_uri;
}

server {
    listen 8443 ssl;
    listen [::]:8443 ssl;
    http2 on;
    server_name portal.example.com;

    ssl_certificate /etc/ssl/certs/portal.crt;
    ssl_certificate_key /etc/ssl/private/portal.key;

    location / {
        proxy_pass http://127.0.0.1:9001;
        proxy_set_header Host $host;
        proxy_set_header X-Real-IP $remote_addr;
        proxy_set_header X-Forwarded-For $proxy_add_x_forwarded_for;
        proxy_set_header X-Forwarded-Proto $scheme;
    }
}
If this server block proxies an application, keep the upstream application port separate from the public Nginx listener. For a fuller proxy setup, including standard proxy headers and backend routing, use the Nginx reverse proxy configuration.
Test and Reload Nginx Port Changes
Test the configuration before reloading Nginx. The syntax check catches malformed blocks, invalid directive placement, duplicate listeners, and missing certificate files before the running service changes.
sudo nginx -tnginx: the configuration file /etc/nginx/nginx.conf syntax is ok nginx: configuration file /etc/nginx/nginx.conf test is successful
Reload the service after the test succeeds:
sudo systemctl reload nginxOn non-systemd systems, use the reload method provided by your init system or Nginx package, such as sudo nginx -s reload.
Confirm that Nginx is listening on the new TCP port:
sudo ss -tuln | grep ':8080 'tcp LISTEN 0 511 0.0.0.0:8080 0.0.0.0:* tcp LISTEN 0 511 [::]:8080 [::]:*
Finally, check the HTTP response from a client path that reaches the server. The curl command in Linux is a good fit for header checks because it shows whether Nginx answers without needing a browser.
curl -fsSI http://example.com:8080Relevant headers include:
HTTP/1.1 200 OK
Server: nginx
Open Firewall and SELinux Access for Nginx Custom Ports
Nginx can listen locally while remote clients still fail. Open the custom port in whichever layer actually filters inbound traffic: the host firewall, a cloud security group, a provider panel, a container publish rule, or a separate load balancer.
Open Nginx Custom Ports with UFW
On systems that already use UFW, confirm the firewall is active before adding rules. A listener can work locally even when UFW has not been enabled or is not the firewall layer controlling public access.
sudo ufw status verboseAllow each TCP port that clients should reach:
sudo ufw allow 8080/tcp
sudo ufw allow 8443/tcp
sudo ufw reload
Check that the rules are active:
sudo ufw status numberedStatus: active
To Action From
-- ------ ----
[ 1] 22/tcp ALLOW IN Anywhere
[ 2] 8080/tcp ALLOW IN Anywhere
[ 3] 8443/tcp ALLOW IN Anywhere
If UFW is not installed or enabled yet, use the distro-specific setup guide for Configure UFW firewall rules on Ubuntu or Install UFW on Debian before exposing the custom Nginx port.
Open Nginx Custom Ports with Firewalld
On systems that already use firewalld, check the daemon state and zones first. The examples use the default zone as a starting point; if --get-active-zones shows the relevant network interface or source in a different zone, assign that active zone to FW_ZONE instead.
sudo firewall-cmd --state
sudo firewall-cmd --get-active-zones
FW_ZONE=$(sudo firewall-cmd --get-default-zone)
Add permanent port rules to the selected zone and reload firewalld:
sudo firewall-cmd --zone="$FW_ZONE" --permanent --add-port=8080/tcp
sudo firewall-cmd --zone="$FW_ZONE" --permanent --add-port=8443/tcp
sudo firewall-cmd --reload
Use targeted checks for the exact ports instead of scanning a long zone listing:
sudo firewall-cmd --zone="$FW_ZONE" --query-port=8080/tcp
sudo firewall-cmd --zone="$FW_ZONE" --query-port=8443/tcp
yes yes
If firewalld is missing, use the matching setup guide for Install Firewalld on Fedora, Install Firewalld on Debian, or Install Firewalld on CentOS Stream before applying these port rules.
Allow Nginx Custom Ports with SELinux
SELinux systems can block Nginx from binding to a port even when the firewall is open. Check the existing http_port_t list before adding anything, because port 8443 is commonly already allowed by default.
sudo semanage port -l | grep '^http_port_t'http_port_t tcp 80, 81, 443, 488, 8008, 8009, 8443, 9000
If your custom port is missing from that list, map it to http_port_t. For example, add port 8080:
sudo semanage port -a -t http_port_t -p tcp 8080If the port is already defined under another SELinux type, modify it only when that port belongs to this Nginx service. If another application owns the existing label, choose a different Nginx port instead of stealing the mapping.
sudo semanage port -m -t http_port_t -p tcp 8080Verify the final mapping:
sudo semanage port -l | grep '^http_port_t'http_port_t tcp 80, 81, 443, 488, 8008, 8009, 8443, 9000, 8080
Advanced Nginx Custom Port Patterns
Bind Nginx to a Specific IP Address and Port
Bind to a specific address when a host has multiple interfaces and only one network should expose the service. Use brackets around IPv6 addresses:
server {
    listen 192.0.2.10:9000;
    listen [2001:db8::10]:9000;
    server_name staging.example.com;
    root /srv/staging;
}
Run Multiple Nginx Sites on Separate Ports
Separate ports are useful for internal dashboards, staging sites, or application endpoints that should not share a public listener:
server {
    listen 8080;
    server_name docs.example.com;
    root /var/www/docs;
}

server {
    listen 9090;
    server_name metrics.example.com;

    location / {
        proxy_pass http://127.0.0.1:3000;
        proxy_set_header Host $host;
        proxy_set_header X-Real-IP $remote_addr;
        proxy_set_header X-Forwarded-For $proxy_add_x_forwarded_for;
        proxy_set_header X-Forwarded-Proto $scheme;
    }
}
Configure Nginx IPv4 and IPv6 Custom Ports
Use separate IPv4 and IPv6 listeners for the clearest dual-stack behavior. Avoid adding ipv6only=off unless you have verified how your kernel handles IPv4-mapped IPv6 sockets and no other listener already owns the IPv4 port.
server {
    listen 9001;
    listen [::]:9001;
    server_name lab.example.com;
    root /srv/lab;
}
Add HTTP/3 UDP on a Custom Nginx Port
HTTP/3 uses QUIC over UDP, so a custom HTTPS port needs both the normal TCP listener and a matching UDP listener. Nginx documents the Nginx HTTP/3 module as experimental, and the module is not built by default; verify that your package or build includes it before using this syntax.
server {
    listen 8443 ssl;
    listen 8443 quic reuseport;
    http2 on;
    http3 on;

    server_name quic.example.com;

    ssl_certificate /etc/ssl/certs/quic.example.com.crt;
    ssl_certificate_key /etc/ssl/private/quic.example.com.key;
    ssl_protocols TLSv1.3;

    add_header Alt-Svc 'h3=":8443"; ma=86400';
}
For UFW, open the UDP side of the port as well as the TCP side:
sudo ufw allow 8443/udpFor firewalld, add the matching UDP port to the same zone used for the TCP listener, then reload the permanent rules:
FW_ZONE=$(sudo firewall-cmd --get-default-zone)
sudo firewall-cmd --zone="$FW_ZONE" --permanent --add-port=8443/udp
sudo firewall-cmd --reload
If you are tuning socket behavior for high traffic, review the dedicated Nginx REUSEPORT configuration before applying reuseport broadly.
Troubleshoot Nginx Port Change Errors
Port-change failures usually come from one of four places: another process owns the port, Nginx syntax is invalid, the firewall blocks remote traffic, or SELinux denies the bind. When the command output does not identify the failed layer, pair one controlled request with the Nginx access and error logs before changing another server block.
Fix Nginx Address Already in Use Errors
The most common conflict looks like this:
nginx: [emerg] bind() to 0.0.0.0:8080 failed (98: Address already in use)
Find the process that already owns the port:
sudo ss -tulnp | grep ':8080 'tcp LISTEN 0 4096 0.0.0.0:8080 0.0.0.0:* users:(("apache2",pid=1510,fd=4))
Stop or reconfigure the conflicting service only after you confirm it is safe to move. On Debian and Ubuntu, Apache usually appears as apache2; on Fedora and RHEL-family systems, it usually appears as httpd. After you free the port or choose a different listener, retest Nginx:
sudo nginx -t
sudo systemctl reload nginx
Fix Nginx HTTP/2 Deprecated Listen Warnings
Current Nginx mainline builds can warn when HTTP/2 is enabled through the older listen parameter:
nginx: [warn] the "listen ... http2" directive is deprecated, use the "http2" directive instead
Replace this older form:
listen 8443 ssl http2;Use this current form when your Nginx version supports it:
listen 8443 ssl;
http2 on;
Retest after editing:
sudo nginx -tFix Nginx Connection Refused or Timed Out
A refused connection usually means nothing is listening. A timeout usually means something between the client and Nginx is dropping packets.
curl: (7) Failed to connect to example.com port 8080: Connection refused
curl: (28) Failed to connect to example.com port 8080 after 10000 ms: Connection timed out
Check the local listener first:
sudo ss -tuln | grep ':8080 'If the listener exists, check the host firewall that is actually enabled. On UFW-managed hosts, look for the custom port rule:
sudo ufw status numbered | grep 8080On firewalld-managed hosts, query the zone that owns the interface or source:
FW_ZONE=$(sudo firewall-cmd --get-default-zone)
sudo firewall-cmd --zone="$FW_ZONE" --query-port=8080/tcp
If the host firewall is open, check any cloud security group, load balancer, router NAT rule, provider panel, or container publish rule that sits in front of Nginx.
Fix Nginx Permission Denied on SELinux Ports
SELinux bind denials often appear as a permission error during the Nginx syntax test or reload. The same message on a rootless or containerized Nginx process can also mean the process lacks permission to bind a low port such as 80, so confirm whether SELinux is enforcing before applying an SELinux port fix.
nginx: [emerg] bind() to 0.0.0.0:8080 failed (13: Permission denied)
Check SELinux mode before changing port labels:
getenforceEnforcing
Continue with the port-label fix when SELinux is enforcing. If the output is Disabled or the service runs in a rootless/container context, investigate process privileges, container port publishing, or the fronting control plane instead.
Check whether the port is mapped to http_port_t:
sudo semanage port -l | grep '^http_port_t' | grep 8080If nothing prints, add the missing mapping and retest Nginx:
sudo semanage port -a -t http_port_t -p tcp 8080
sudo nginx -t
sudo systemctl reload nginx
Fix Nginx 403 or 404 After a Port Change
A 403 or 404 response means the request reached Nginx, but it did not land in the server block or document root you expected. Confirm which server block owns the new port and hostname:
sudo nginx -T 2>/dev/null | grep -nE '^# configuration file|server_name|listen[[:space:]]+8080|root[[:space:]]+'Then request the exact hostname and port:
curl -sSI -H 'Host: example.com' http://127.0.0.1:8080HTTP/1.1 200 OK Server: nginx
Remove Nginx Custom Port Configuration
Reverting a custom port means restoring the Nginx listener, removing firewall exposure that is no longer needed, and deleting only the SELinux port mappings you added yourself.
Restore Default Nginx Ports
If you created backups before editing, restore the backup that matches the file you changed.
For a Debian or Ubuntu-style site file, restore the site file backup:
sudo cp /etc/nginx/sites-available/default.bak /etc/nginx/sites-available/defaultIf you edited a conf.d file, restore that file backup:
sudo cp /etc/nginx/conf.d/default.conf.bak /etc/nginx/conf.d/default.confIf you changed /etc/nginx/nginx.conf directly, restore the main configuration backup:
sudo cp /etc/nginx/nginx.conf.bak /etc/nginx/nginx.confIf you did not create backups, manually change the custom listeners back to the original ports, usually 80 for HTTP and 443 for HTTPS. Then retest and reload:
sudo nginx -t
sudo systemctl reload nginx
Remove Nginx Custom Port Firewall Rules
For UFW, delete the explicit allow rules by port:
sudo ufw delete allow 8080/tcp
sudo ufw delete allow 8443/tcp
sudo ufw reload
For firewalld, remove the permanent port rules from the same zone you opened earlier, then reload:
FW_ZONE=$(sudo firewall-cmd --get-default-zone)
sudo firewall-cmd --zone="$FW_ZONE" --permanent --remove-port=8080/tcp
sudo firewall-cmd --zone="$FW_ZONE" --permanent --remove-port=8443/tcp
sudo firewall-cmd --reload
Verify each removed firewalld port returns no:
sudo firewall-cmd --zone="$FW_ZONE" --query-port=8080/tcp
sudo firewall-cmd --zone="$FW_ZONE" --query-port=8443/tcp
no no
Remove Nginx Custom Port SELinux Mappings
Remove only the custom SELinux ports you added. Do not delete built-in mappings such as 8443 when they already existed before the article workflow.
sudo semanage port -d -t http_port_t -p tcp 8080Confirm the custom port no longer appears:
sudo semanage port -l | grep '^http_port_t' | grep 8080If the command prints nothing, the local SELinux mapping for port 8080 is gone.
Verify Default Nginx Port Operation
Confirm Nginx is listening on the standard ports again:
sudo ss -tuln | grep -E ':80 |:443 'tcp LISTEN 0 511 0.0.0.0:80 0.0.0.0:* tcp LISTEN 0 511 0.0.0.0:443 0.0.0.0:*
Then verify the site through the normal URL:
curl -fsSI http://example.com
curl -fsSI https://example.com
Conclusion
Nginx can now serve the site on the intended custom port, with the active server block, firewall layer, and SELinux policy aligned. Keep the old port open only when it has a deliberate redirect role, and document custom ports for monitoring, load balancers, and application owners. For related hardening, review Configure Nginx security headers and Enable gzip compression in Nginx.

Formatting tips for your comment
You can use basic HTML to format your comment. Useful tags currently allowed in published comments:
<code>command</code>command<strong>bold</strong><em>italic</em><blockquote>quote</blockquote>