
This guide demonstrates how to create and add users to the sudoers file on Linux Mint 21 and 20 using the command-line terminal.
Managing user permissions efficiently is a fundamental aspect of system administration, particularly in server environments where security and control are paramount. Linux Mint, a popular choice for both personal and server use, provides robust tools for user management. This includes the ability to add users to the sudoers file, which grants them administrative privileges. This capability is especially useful for system administrators, developers, and advanced users who require elevated permissions to perform specific tasks.
Key Features of Adding Users to Sudoers on Linux Mint:
- Enhanced Security: Limits root access, reducing the risk of unauthorized system changes.
- User Autonomy: Allows specified users to execute administrative commands without compromising the root account.
- Flexibility in Permissions: Tailor user access levels, specifying which commands each user can run.
- Audit and Control: Track which users perform administrative actions, improving accountability.
- Ease of Management: Simplify administrative tasks by granting necessary permissions to trusted users.
Understanding how to effectively add users to the sudoers file is not just about enhancing system functionality; it’s about optimizing the balance between security and efficiency. By granting sudo privileges, you empower users with the necessary tools to perform their roles effectively, while maintaining the integrity and security of the system.
Next, we’ll dive into the technical aspects of this process, detailing the steps required to securely and efficiently how to create and add users to sudoers on Linux Mint 21 or 20. This involves accessing the command-line terminal, using specific commands for user creation and modification, and editing the sudoers file with appropriate permissions.
Login to Root (su) on Linux Mint 21, 20
Switching to the Root User
Begin the process to create and add users to sudoers on Linux Mint 21 or 20, start by switching to the root user. This is a necessary step for administrative tasks. Use the su command for this purpose. Note that the root account in Linux Mint doesn’t have a preset password. So, you’ll need to assign one.
Setting the Root Password
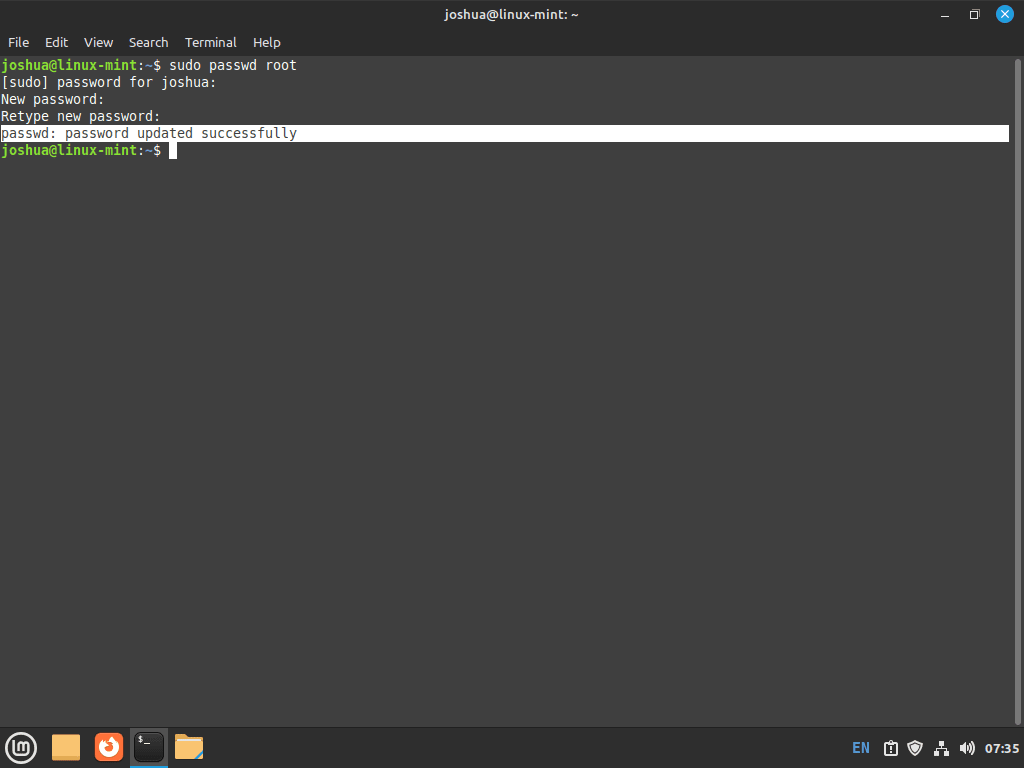
To set a root password, execute the following command in the terminal:
sudo passwd rootThis command prompts you to enter your current sudo account password. Once verified, you’ll be able to set a new password for the root user. Ensure that this password is strong and secure, as it provides extensive system access.
Add a New User to the Sudoers Group on Linux Mint 21, 20
Switching to Root User
Having established your root password, proceed to switch to the root user. This step is critical for performing administrative tasks, including adding a new user to the sudoers group.
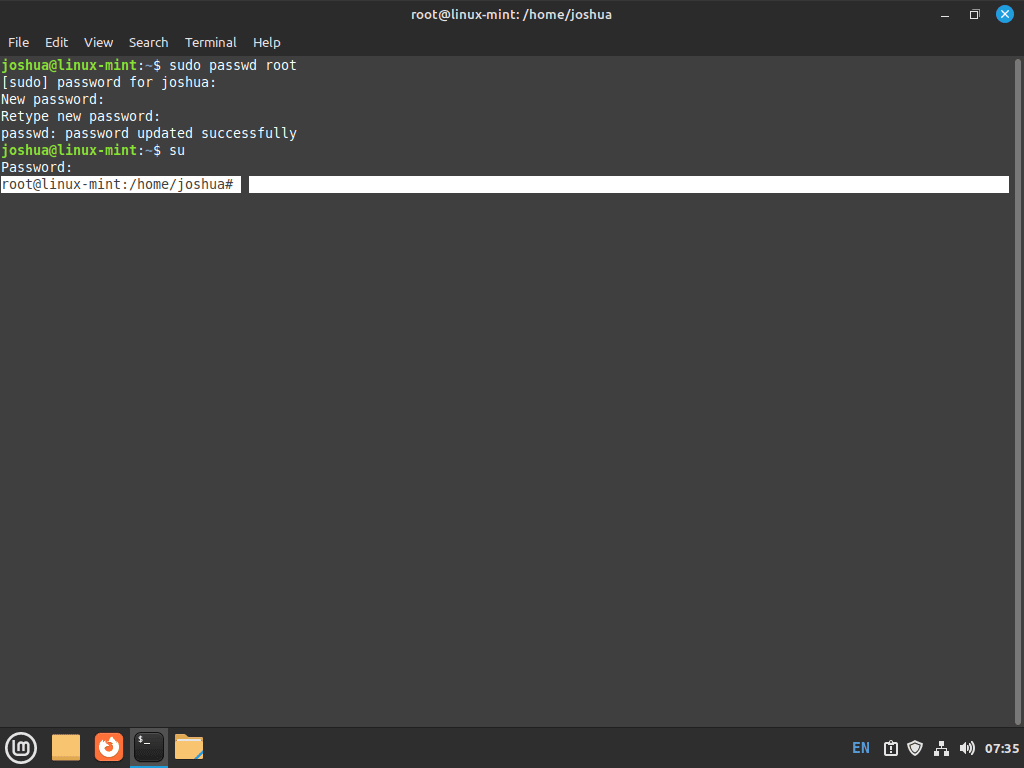
Utilize the su command for this transition:
suUpon execution, the system will prompt for the root password. Input the password you’ve set to continue. Successful entry will change your session to the root user, indicated by the username change in the terminal.
Create New User Account on Linux Mint 21, 20
Initiating User Creation
To add a new user account on Linux Mint, begin by determining the username for the new account. While it’s possible to modify existing accounts, this guide focuses on creating a fresh user account.
Executing the Adduser Command
Start by executing the adduser command followed by your chosen username. This command initiates the creation of a new user account. For instance:
adduser <desired_username>For a practical example:
adduser joshUpon running this command, the system prompts you to set a password for the new user. It’s crucial to use a strong password, especially for users with sudo privileges. A robust password typically includes uppercase and lowercase letters, symbols, numbers, and special characters.
Providing User Details
Next, the system asks for additional details about the new user. This information includes the user’s full name, room number, work phone, home phone, and other details. You can fill out these details as needed or simply press Enter to skip each field.

Finalizing the User Creation
After inputting the details, confirm the correctness by typing “Y” and pressing Enter. This action completes the user creation process.
Verifying the New User
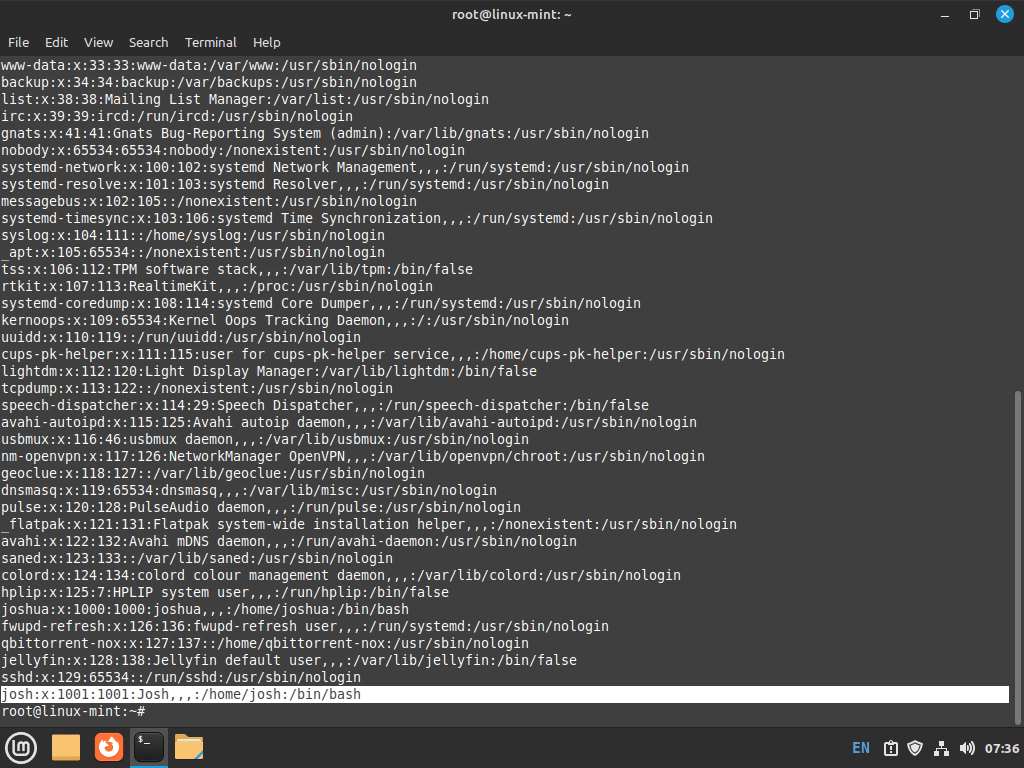
To ensure that the user account has been successfully added, check the /etc/passwd file. This can be done by executing the following command:
cat /etc/passwdThis command displays a list of all user accounts, where you can verify the addition of the new user.
Add New User to the Sudoers Group on Linux Mint 21, 20
Granting Sudoers Access
After creating a new user or selecting an existing user, the next step involves granting them sudoers access. This is achieved through the usermod command, which modifies user properties.
Using the Usermod Command
Execute the following command to add a user to the sudoers group:
usermod -aG sudo <desired_username>For instance, if the username is ‘josh’, the command would be:
usermod -aG sudo joshVerifying Sudoers Group Membership
It’s essential to confirm that the user has successfully been added to the sudoers group. This verification ensures that the user has the necessary permissions to execute commands with sudo.
Executing the Id Command
Run the id command with the username to check group membership:
id <username>Applying it to our example:
id josh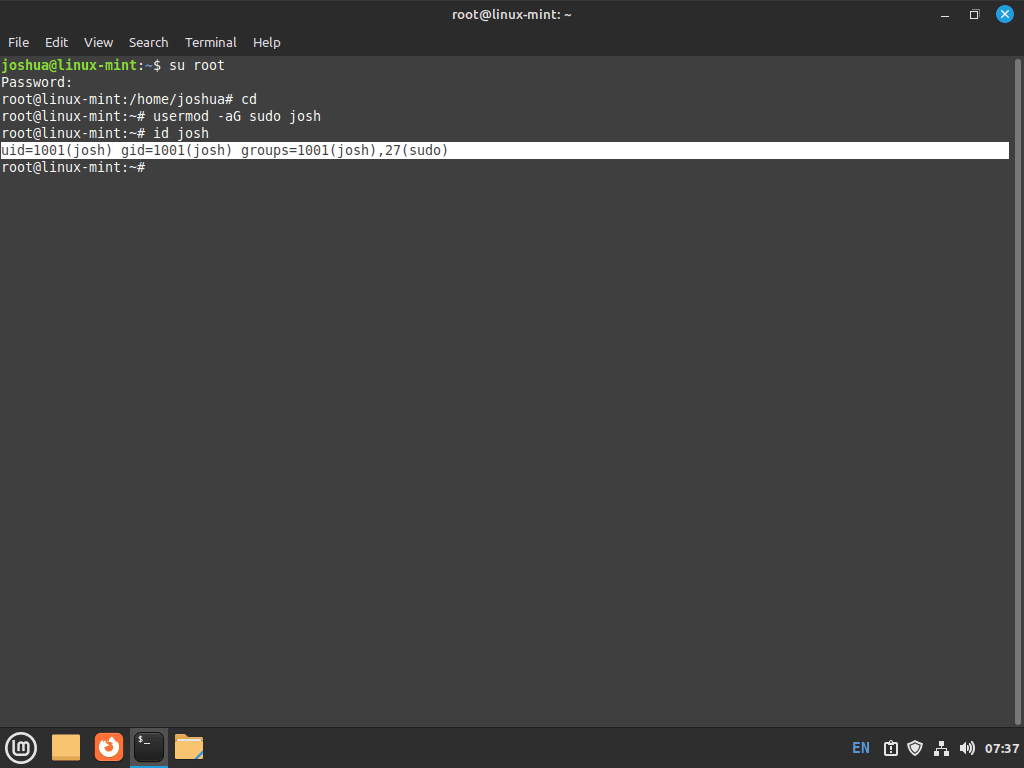
Alternative Method: Using Gpasswd
As an alternative to usermod, the gpasswd command can also be used to add a user to the sudoers group.
Executing the Gpasswd Command
The command format is as follows:
gpasswd -a <example username> sudoFor example:
gpasswd -a josh sudoExample output:
adding josh to group sudoConfirm and Test the New Sudo User on Linux Mint 21, 20
Switching to the New User Account
Having added your chosen user to the sudoers group, the next step is to test their new privileges. This is done by switching to the new user account using the su command.
Using the Su Command
To switch to the new user account, execute:
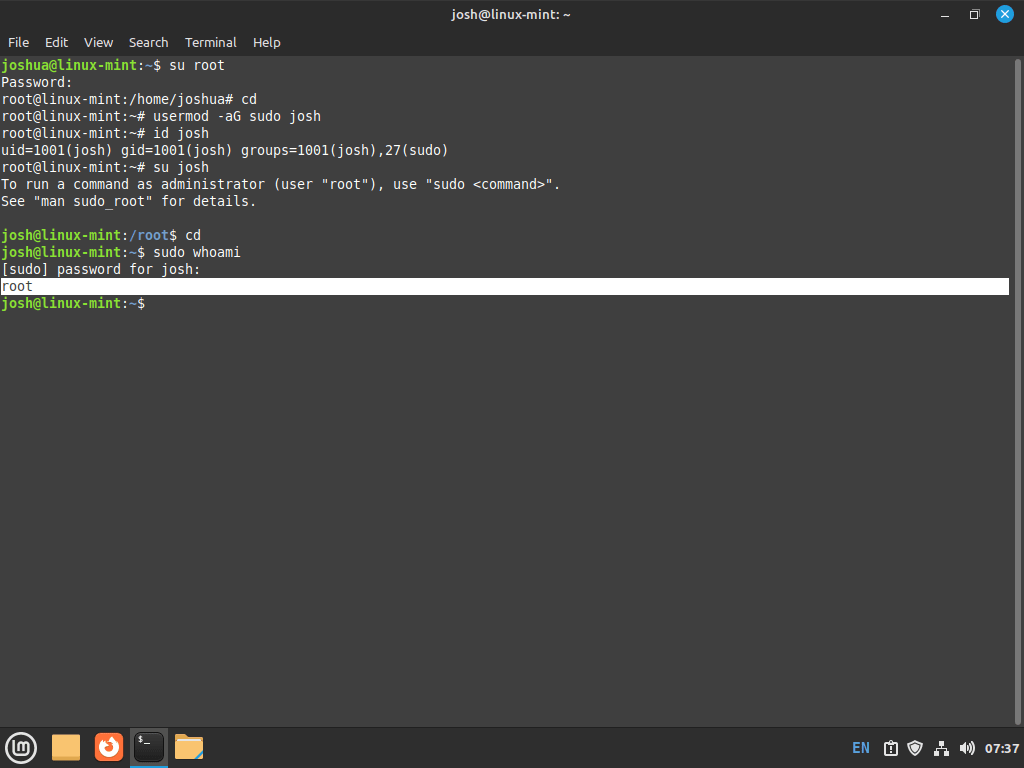
su <example username>For our example with ‘josh’:
su joshVerifying Sudo Access
Once switched to the new user account, it’s crucial to confirm their sudo privileges. This step ensures that the user has been correctly added to the sudoers group and has the necessary administrative access.
Executing Sudo Whoami
Run the following command to verify sudo access:
sudo whoamiThis command prompts you to enter the sudo username and password for the account you are testing. Successful entry and execution will display ‘root’ as output, indicating that the user has effective sudo privileges.
Conclusion
That’s it! We’ve successfully navigated through how to create and add users to sudoers on Linux Mint 21 or 20. From creating a secure root password, adding a new user, to granting them essential sudoers access, each step was crucial in ensuring your system’s smooth and secure operation. Remember, regular checks on user permissions and system security are always a good idea.