
Visual Studio Code (VS Code) is Microsoft’s free code editor that has become the go-to choice for developers across languages and frameworks. Unlike traditional IDEs, VS Code combines a lightweight footprint with intelligent code completion (IntelliSense), integrated debugging, built-in Git version control, and an extensive extension marketplace. The editor supports dozens of programming languages out of the box, offers customizable themes and keyboard shortcuts, and runs smoothly on Ubuntu with minimal resource overhead.
This guide covers installing Visual Studio Code on Ubuntu using three methods: Microsoft’s official APT repository for direct upstream packages, Snap for automatic updates, and Flatpak for universal Linux compatibility. You’ll learn how to set up each method, launch VS Code, manage updates, and completely remove the installation when needed.
Choose Your Visual Studio Code Installation Method
Visual Studio Code offers three installation paths on Ubuntu, each with distinct trade-offs. Choose based on your update preferences, system integration needs, and whether you require the Insiders build for early access to experimental features.
| Method | Channel | Builds Available | Updates | Best For |
|---|---|---|---|---|
| Microsoft APT Repository | Microsoft Repo | Stable, Insiders | Manual via apt upgrade | Users wanting direct Microsoft updates and traditional package management |
| Snap | Snapcraft | Stable, Insiders | Automatic | Users preferring hands-off updates with sandboxed installation |
| Flatpak | Flathub | Stable only | Manual via flatpak update | Users wanting universal Linux compatibility with sandboxing |
For most users, the Microsoft APT repository is recommended because it provides direct upstream packages and integrates with Ubuntu’s standard update workflow. Snap offers convenience through automatic updates, while Flatpak prioritizes cross-distribution compatibility but lacks the Insiders build.
The Microsoft repository uses a universal package format that works on all current Ubuntu releases, including LTS versions and interim releases. Commands shown in this guide work identically regardless of your specific Ubuntu version.
Method 1: Install VS Code via Microsoft APT Repository
Update System Packages
Before installing Visual Studio Code, refresh your package index and upgrade any outdated packages:
sudo apt update && sudo apt upgradeInstall Required Dependencies
Install packages needed for secure GPG key downloads and repository management:
sudo apt install curl gpg -yAdd Microsoft VS Code Repository
Download Microsoft’s GPG signing key and convert it to binary format:
curl -fsSL https://packages.microsoft.com/keys/microsoft.asc | sudo gpg --dearmor -o /usr/share/keyrings/microsoft.gpgThis command downloads the ASCII-armored key, converts it to binary format using gpg --dearmor, and writes it directly to the system keyring directory. The -fsSL flags ensure curl fails silently on server errors, shows no progress bar, follows redirects, and uses HTTPS. For more download techniques, see our curl command guide.
After that, create the repository configuration file using the modern DEB822 format:
echo "Types: deb
URIs: https://packages.microsoft.com/repos/code
Suites: stable
Components: main
Architectures: amd64 arm64 armhf
Signed-By: /usr/share/keyrings/microsoft.gpg" | sudo tee /etc/apt/sources.list.d/vscode.sources > /dev/null
Ubuntu 26.04 LTS, 24.04 LTS, and 22.04 LTS all support the modern DEB822
.sourcesformat shown above. This format provides cleaner syntax and better maintainability compared to the legacy.listformat.
Install Visual Studio Code
With the repository configured, refresh your package list to recognize the newly added repository:
sudo apt updateVerify that APT recognizes the Microsoft repository:
apt-cache policy codeExpected output showing the Microsoft repository:
code:
  Installed: (none)
  Candidate: 1.x.x-xxxxxxxxxx
  Version table:
     1.x.x-xxxxxxxxxx 500
        500 https://packages.microsoft.com/repos/code stable/main amd64 Packages
Now, install the stable build of Visual Studio Code:
sudo apt install codeAlternatively, install the Insiders build for early access to experimental features:
sudo apt install code-insidersVerify APT Installation
After installation completes, verify that VS Code is accessible by checking its version:
code --versionExpected output:
1.x.x
commit-hash...
x64
Method 2: Install VS Code via Snap
Install Snap Package Manager
For automatic updates, you can use Snap instead. First, confirm that Snap is installed on your system. Ubuntu includes Snap by default, but you can install it if needed:
sudo apt install snapdInstall VS Code Using Snap
Once snapd is ready, you can install Visual Studio Code with this command:
sudo snap install code --classicAlternatively, for the Insiders build:
sudo snap install code-insiders --classicThe --classic flag grants VS Code full access to your filesystem, which is necessary for reading project files, accessing terminals, and running debuggers. Without this flag, the sandboxed environment would prevent VS Code from functioning as a development tool.
Verify Snap Installation
After installation completes, verify that VS Code is accessible:
snap list codeExpected output:
Name  Version       Rev    Tracking       Publisher   Notes
code  1.x.x         xxx    latest/stable  vscode✓     classic
Method 3: Install VS Code via Flatpak and Flathub
Add Flathub Repository
For universal Linux compatibility, you can use Flatpak instead. If Flatpak isn’t installed on your system, follow our Flatpak installation guide on Ubuntu to set up the Flatpak framework and Flathub repository, which typically takes under five minutes. Once ready, add the Flathub repository:
sudo flatpak remote-add --if-not-exists flathub https://flathub.org/repo/flathub.flatpakrepoThe --if-not-exists flag prevents errors if Flathub is already configured.
Flatpak is not pre-installed on Ubuntu. Ubuntu 26.04 LTS, 24.04 LTS, and 22.04 LTS all require manual installation of Flatpak and the Flathub repository before you can install Flatpak applications. If the
flatpakcommand is not found, complete our prerequisite guide linked above first.
Install VS Code Using Flatpak
With Flathub configured, install Visual Studio Code from the repository:
sudo flatpak install flathub com.visualstudio.code -yThis command installs Visual Studio Code system-wide for all users. The sudo prefix ensures the application is available for every account on the system.
Verify Flatpak Installation
After installation completes, verify that VS Code is installed correctly:
flatpak info com.visualstudio.codeExpected output:
Visual Studio Code - Code Editing. Redefined.

          ID: com.visualstudio.code
         Ref: app/com.visualstudio.code/x86_64/stable
        Arch: x86_64
      Branch: stable
     Version: 1.x.x
      Origin: flathub
Installation: system
Launching Visual Studio Code
Launch VS Code from Terminal
Launch Visual Studio Code from the terminal using the command that matches your installation method:
APT installation (stable):
codeAPT installation (Insiders):
code-insidersSnap installation:
snap run codeFlatpak installation:
flatpak run com.visualstudio.codeYou can also open a specific file or folder by appending the path to the command, for example: code ~/projects/myapp.
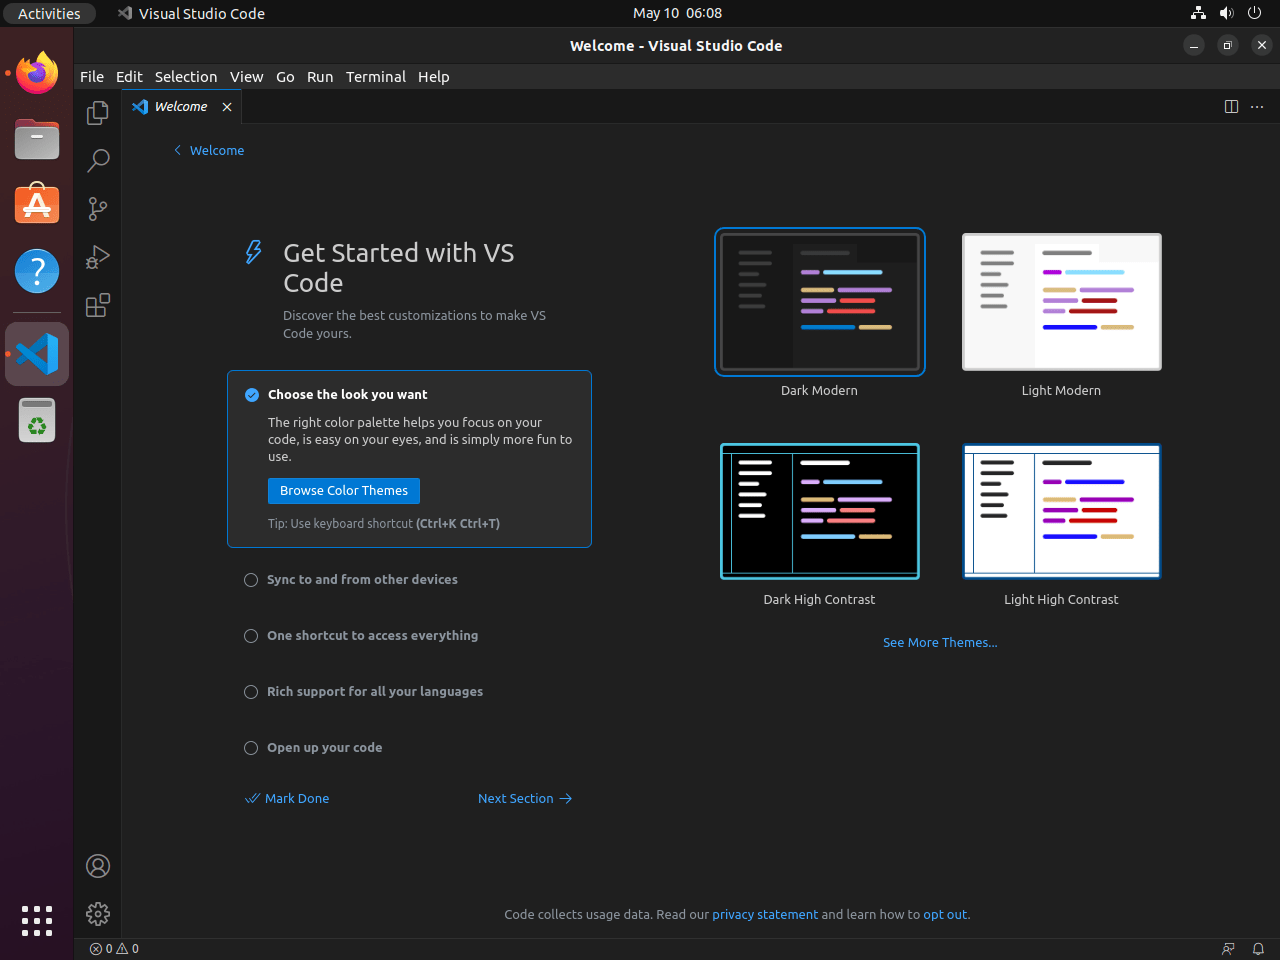
Launch VS Code from Applications Menu
Alternatively, to launch Visual Studio Code using Ubuntu’s graphical interface:
- Click Activities at the top left corner of your screen to open the overview dashboard.
- Select Show Applications (the grid icon at the bottom of the dock).
- Type “Visual Studio Code” in the search bar. The VS Code icon appears as you type.
- Click the icon to launch VS Code.
Updating Visual Studio Code
Update VS Code via APT Repository
When using the APT installation method, Visual Studio Code updates arrive through Ubuntu’s standard package update process. To update, refresh your package list and upgrade:
sudo apt update && sudo apt upgradeThis command upgrades all system packages including VS Code. Alternatively, to upgrade only VS Code specifically:
sudo apt update && sudo apt install --only-upgrade codeUpdate VS Code via Snap
When using Snap, the system handles updates automatically in the background. However, you can force an immediate update check:
sudo snap refresh codeFor the Insiders build:
sudo snap refresh code-insidersUpdate VS Code via Flatpak
For Flatpak installations, update Visual Studio Code through Flatpak’s update mechanism:
sudo flatpak update com.visualstudio.code -yAlternatively, you can update all Flatpak applications at once:
sudo flatpak update -yRemove Visual Studio Code
Remove VS Code via APT
If you installed Visual Studio Code via APT, use the following command to uninstall the stable build:
sudo apt remove codeFor the Insiders build:
sudo apt remove code-insidersRemove orphaned dependencies, then clean up the repository configuration and GPG key:
sudo apt autoremove
sudo rm /etc/apt/sources.list.d/vscode.sources
sudo rm /usr/share/keyrings/microsoft.gpg
Verify removal by refreshing the package cache and checking that VS Code is no longer available:
sudo apt update
apt-cache policy code
The apt-cache policy command returns minimal output when the Microsoft repository has been removed successfully.
Remove VS Code via Flatpak
For Flatpak installations, use this command:
sudo flatpak uninstall com.visualstudio.codeOptionally, remove unused Flatpak runtimes to free disk space:
sudo flatpak uninstall --unused -yRemove VS Code via Snap
For Snap installations, remove Visual Studio Code with the following command:
sudo snap remove codeFor the Insiders build:
sudo snap remove code-insidersRemove VS Code User Data
The following commands permanently delete your VS Code settings, extensions, and cached data. If you want to preserve your configuration for future reinstallation, back up these directories first:
cp -r ~/.config/Code ~/vscode-backup.
After uninstalling VS Code, you can optionally remove user data directories that contain settings, extensions, and cache:
rm -rf ~/.config/Code ~/.cache/Code ~/.local/share/Code ~/.vscodeFor Flatpak installations, user data is stored separately:
rm -rf ~/.var/app/com.visualstudio.codeFor Insiders builds, remove the corresponding directories:
rm -rf ~/.config/Code\ -\ Insiders ~/.cache/Code\ -\ Insiders ~/.local/share/Code\ -\ Insiders ~/.vscode-insidersClosing Thoughts
Visual Studio Code provides intelligent code completion, integrated debugging, and extensive language support through its extension marketplace. This guide covered three installation methods—APT for upstream packages, Snap for automatic updates, and Flatpak for cross-distribution compatibility. Your Ubuntu system now has a customizable development environment ready for projects of any scale. For a complete development setup, consider installing Git for version control or Node.js for JavaScript development. Additionally, configure unattended upgrades to keep your system secure.
Official Resources
- VS Code Documentation: Official guides for configuration and advanced usage
- VS Code GitHub Repository: Source code, issue tracker, and release notes